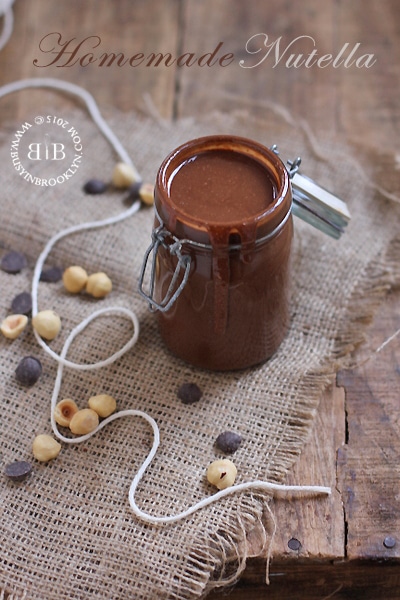
Making my own nutella has been on my list forever. It’s just one of those things that I’ve always wanted to make, but I never got around to it. Now that I finally made a batch, it’s going to be a regular here – it’s just that easy and that good.
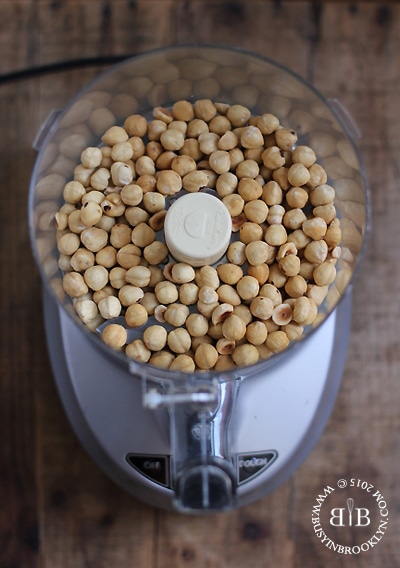
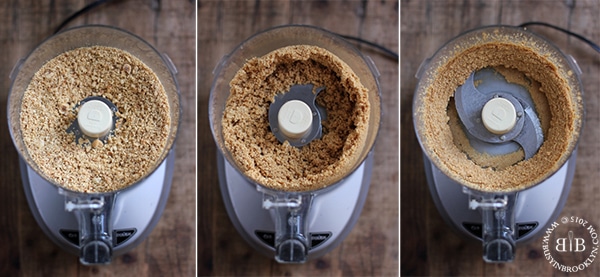
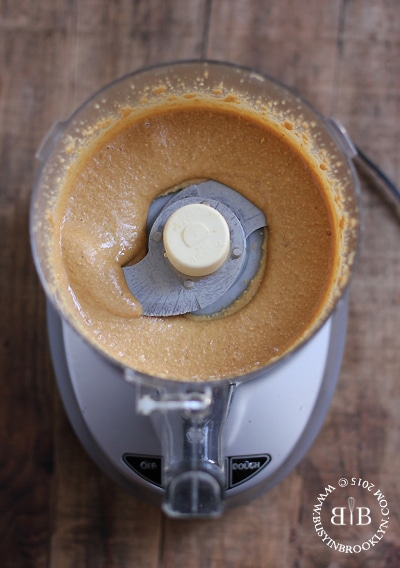
If you’ve never made your own nut butter, you don’t know what you’re missing. It’s so much better than the store-bought stuff that’s loaded with additives! You can make nut butter out of just about any nut, and there’s nothing to it! You just let it go in the food processor until it’s creamy. It goes from chopped to a sort of greasy chop, then it turns to a creamy consistency with lots of pieces in it, and finally it reaches the beautiful consistency of butter.
There are so many things you can add to nut butter too. Maple syrup, honey, molasses, cinnamon, gingerbread spices, pumpkin spices, and of course….CHOCOLATE.
Chocolate nut butter is definitely my nut butter of choice. Last year, I made chocolate walnut butter for Passover and put it on just about everything. Now that California Gourmet has come out with soy-free kosher for Passover chocolate chips, I’m so excited about all the chocolate nut butter possibilities!
This incredible new brand has 48% cocoa for a rich chocolaty flavor that’s not too sweet. It’s non-GMO, gluten free, nut free, dairy free and with just 3 ingredients, you know you are eating clean. The kosher for Passover chips are made with just cane sugar, unsweetened chocolate, and cocoa butter – that’s it!
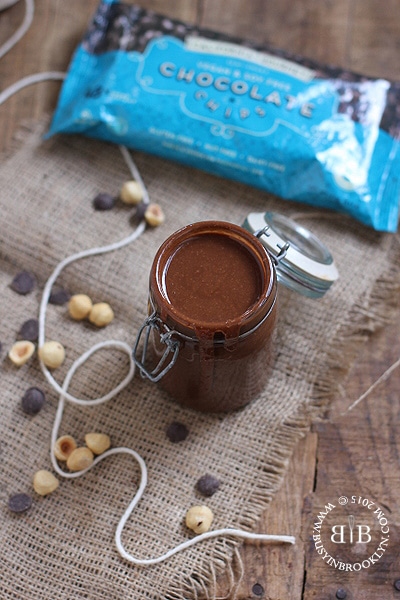
I love that California Gourmet’s new product makes eating nutella feel guilt-free! You can eat it with fruit, drizzled over yogurt, mixed into cookies or cake, and smeared over matza (if your custom allows). Me? I eat a spoonful right out of the jar for a decadent treat!
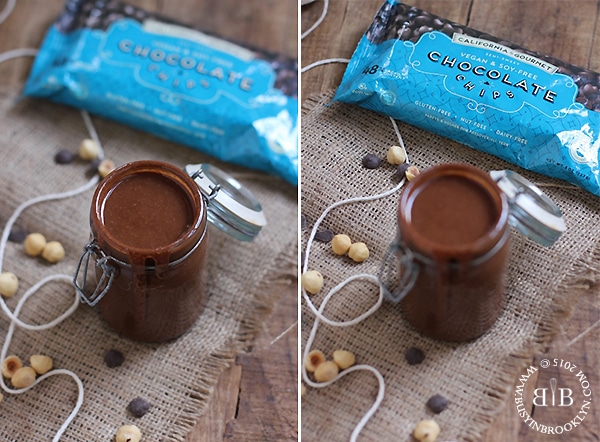
Now if you want to pick up a bag of kosher for Passover California Gourmet chocolate chips, they’re making it into stores nationwide (view the list here). If your store carries the red bag (which contains soy and is not kosher for Passover), you can ask them to bring in the Passover variety as it is available through the same distributor. If you are unable to get the chocolate at a store near you, you can also order it online here or replace it with some good quality chocolate instead.
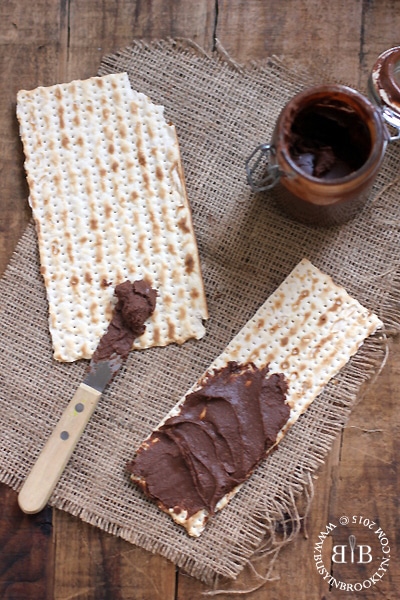
Now that we’ve got our nutella ready, stay tuned for some banana nutella ice cream, coming to the blog real soon!
Homemade Nutella
8 oz. skinned* and roasted hazelnuts (unsalted), about 1 1/2 cups
1 8 oz. bag California Gourmet KFP chocolate chips
½ tsp vanilla extract
pinch of sea salt
Method:
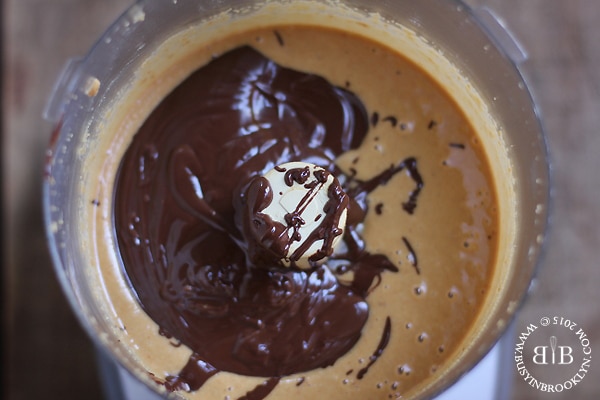
Melt the chocolate chips over a double boiler. While they are melting, add the hazelnuts to a food processor and blend until smooth and creamy, scraping down the sides of the bowl as needed. Add the melted chocolate, vanilla and salt and blend until incorporated. Store in an airtight container at room temperature for up to 1 week or refrigerate for up to 1 month.
*If you cannot find skinned hazelnuts, purchase raw nuts and roast them at 400 degrees for about 8-10 minutes, until the skins begin to crack. Remove from the oven and add to a kitchen towel. Rub the nuts vigorously to remove the skins and set aside to cool.
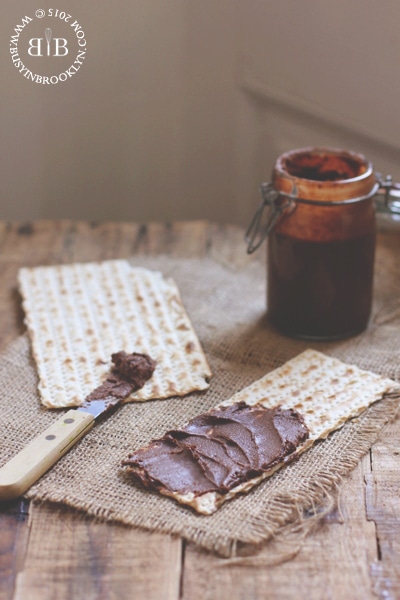
NOTE: When the nutella comes out of the food processor, it will be liquidy, like the consistency of melted chocolate. As it sits, it will firm up to the texture of nut butter, as pictured on the matza. If you refrigerate the spread, it will harden, but you can just bring it to room temperature so it’s easier to spread.
EQUIPMENT NOTE: You will need a powerful food processor in order to create the hazelnut butter. If your machine is not that good, the process may take longer, just be patient and let the machine do the work.
TIP: if your nutella is difficult to spread, place your sealed container in a bowl of very warm tap water to soften.
This post is sponsored by California Gourmet Chocolate Chips. Follow on Facebook, Twitter, and Instagram.
Related Recipes: cinnamon honey walnut butter

