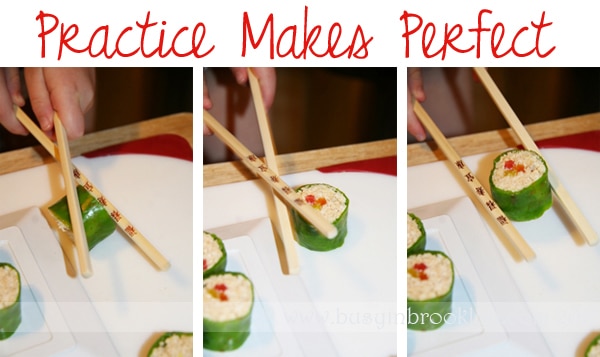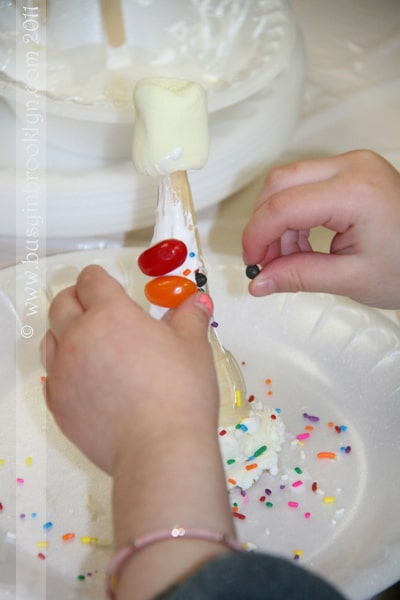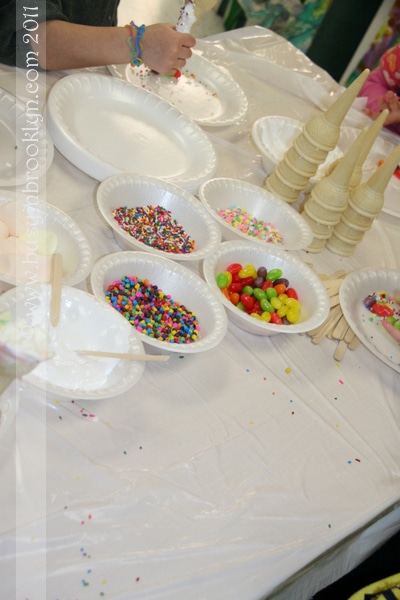

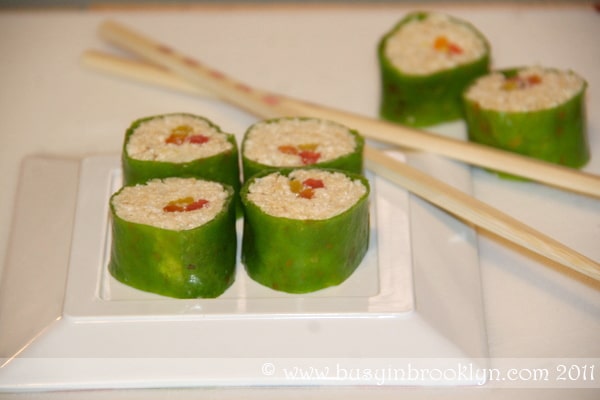
The days between camp and school seem to stretch on forever, especially with Hurricane Irene keeping us trapped indoors. We colored, painted, modeled stuff out of play-dough, built lego, surfed on the ipad, and played candyland. When a tantrum threatened to rear its’ ugly head, I knew it was time for some candy. But instead of handing out lolly pops, I decided to turn our nosh into a fun craft. Candy sushi is fun to make and even more fun to eat. Set out some chopsticks so your kids can practice using them.
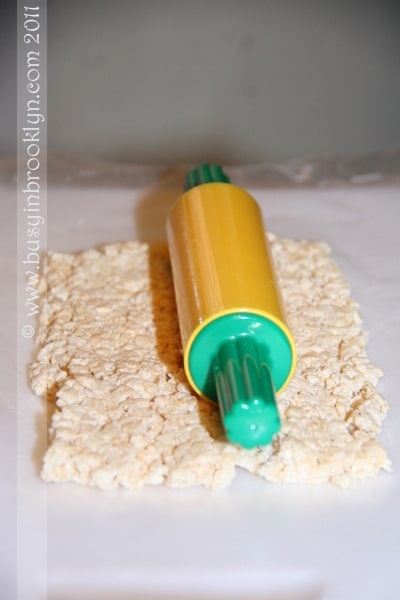
I made these using store-bought rice krispies treats, but you can definitely make your own. Just follow the directions on the box and prepare thin sheets of treats on wax paper that are about 4″H x 6″W (or just spread out on a cookie sheet and cut to size with a knife).
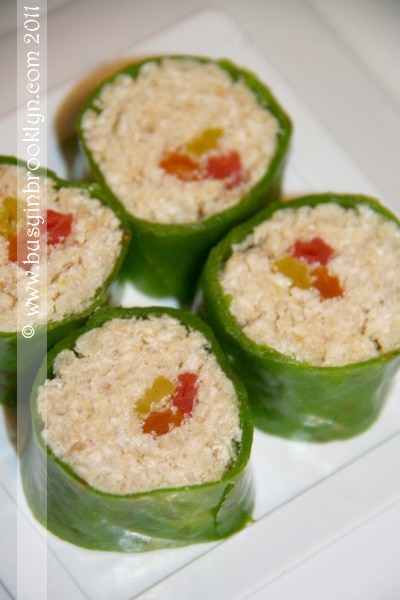
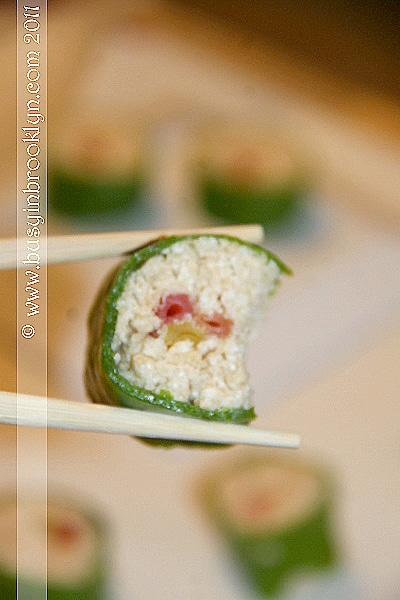
Candy sushi is a great craft to make at a birthday party. Package each roll in a sushi container for an adorable take-home treat. You can also prepare these for a cute kids shalach manos!

Candy Sushi
2-3 rice crispy treat squares (such as Snack Delite brand) or 1 home-made 4″x6″ sheet
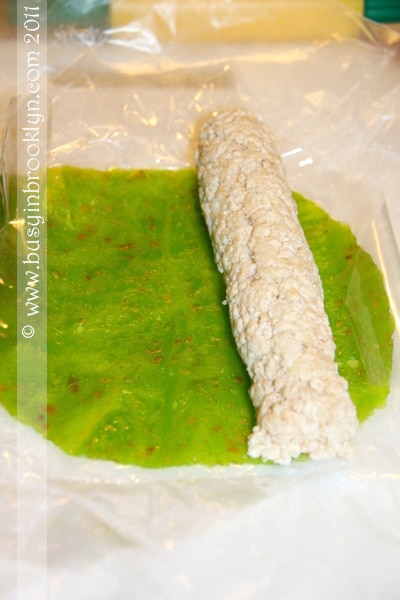
1 green fruit roll up (I like joray sour apple fruit roll)
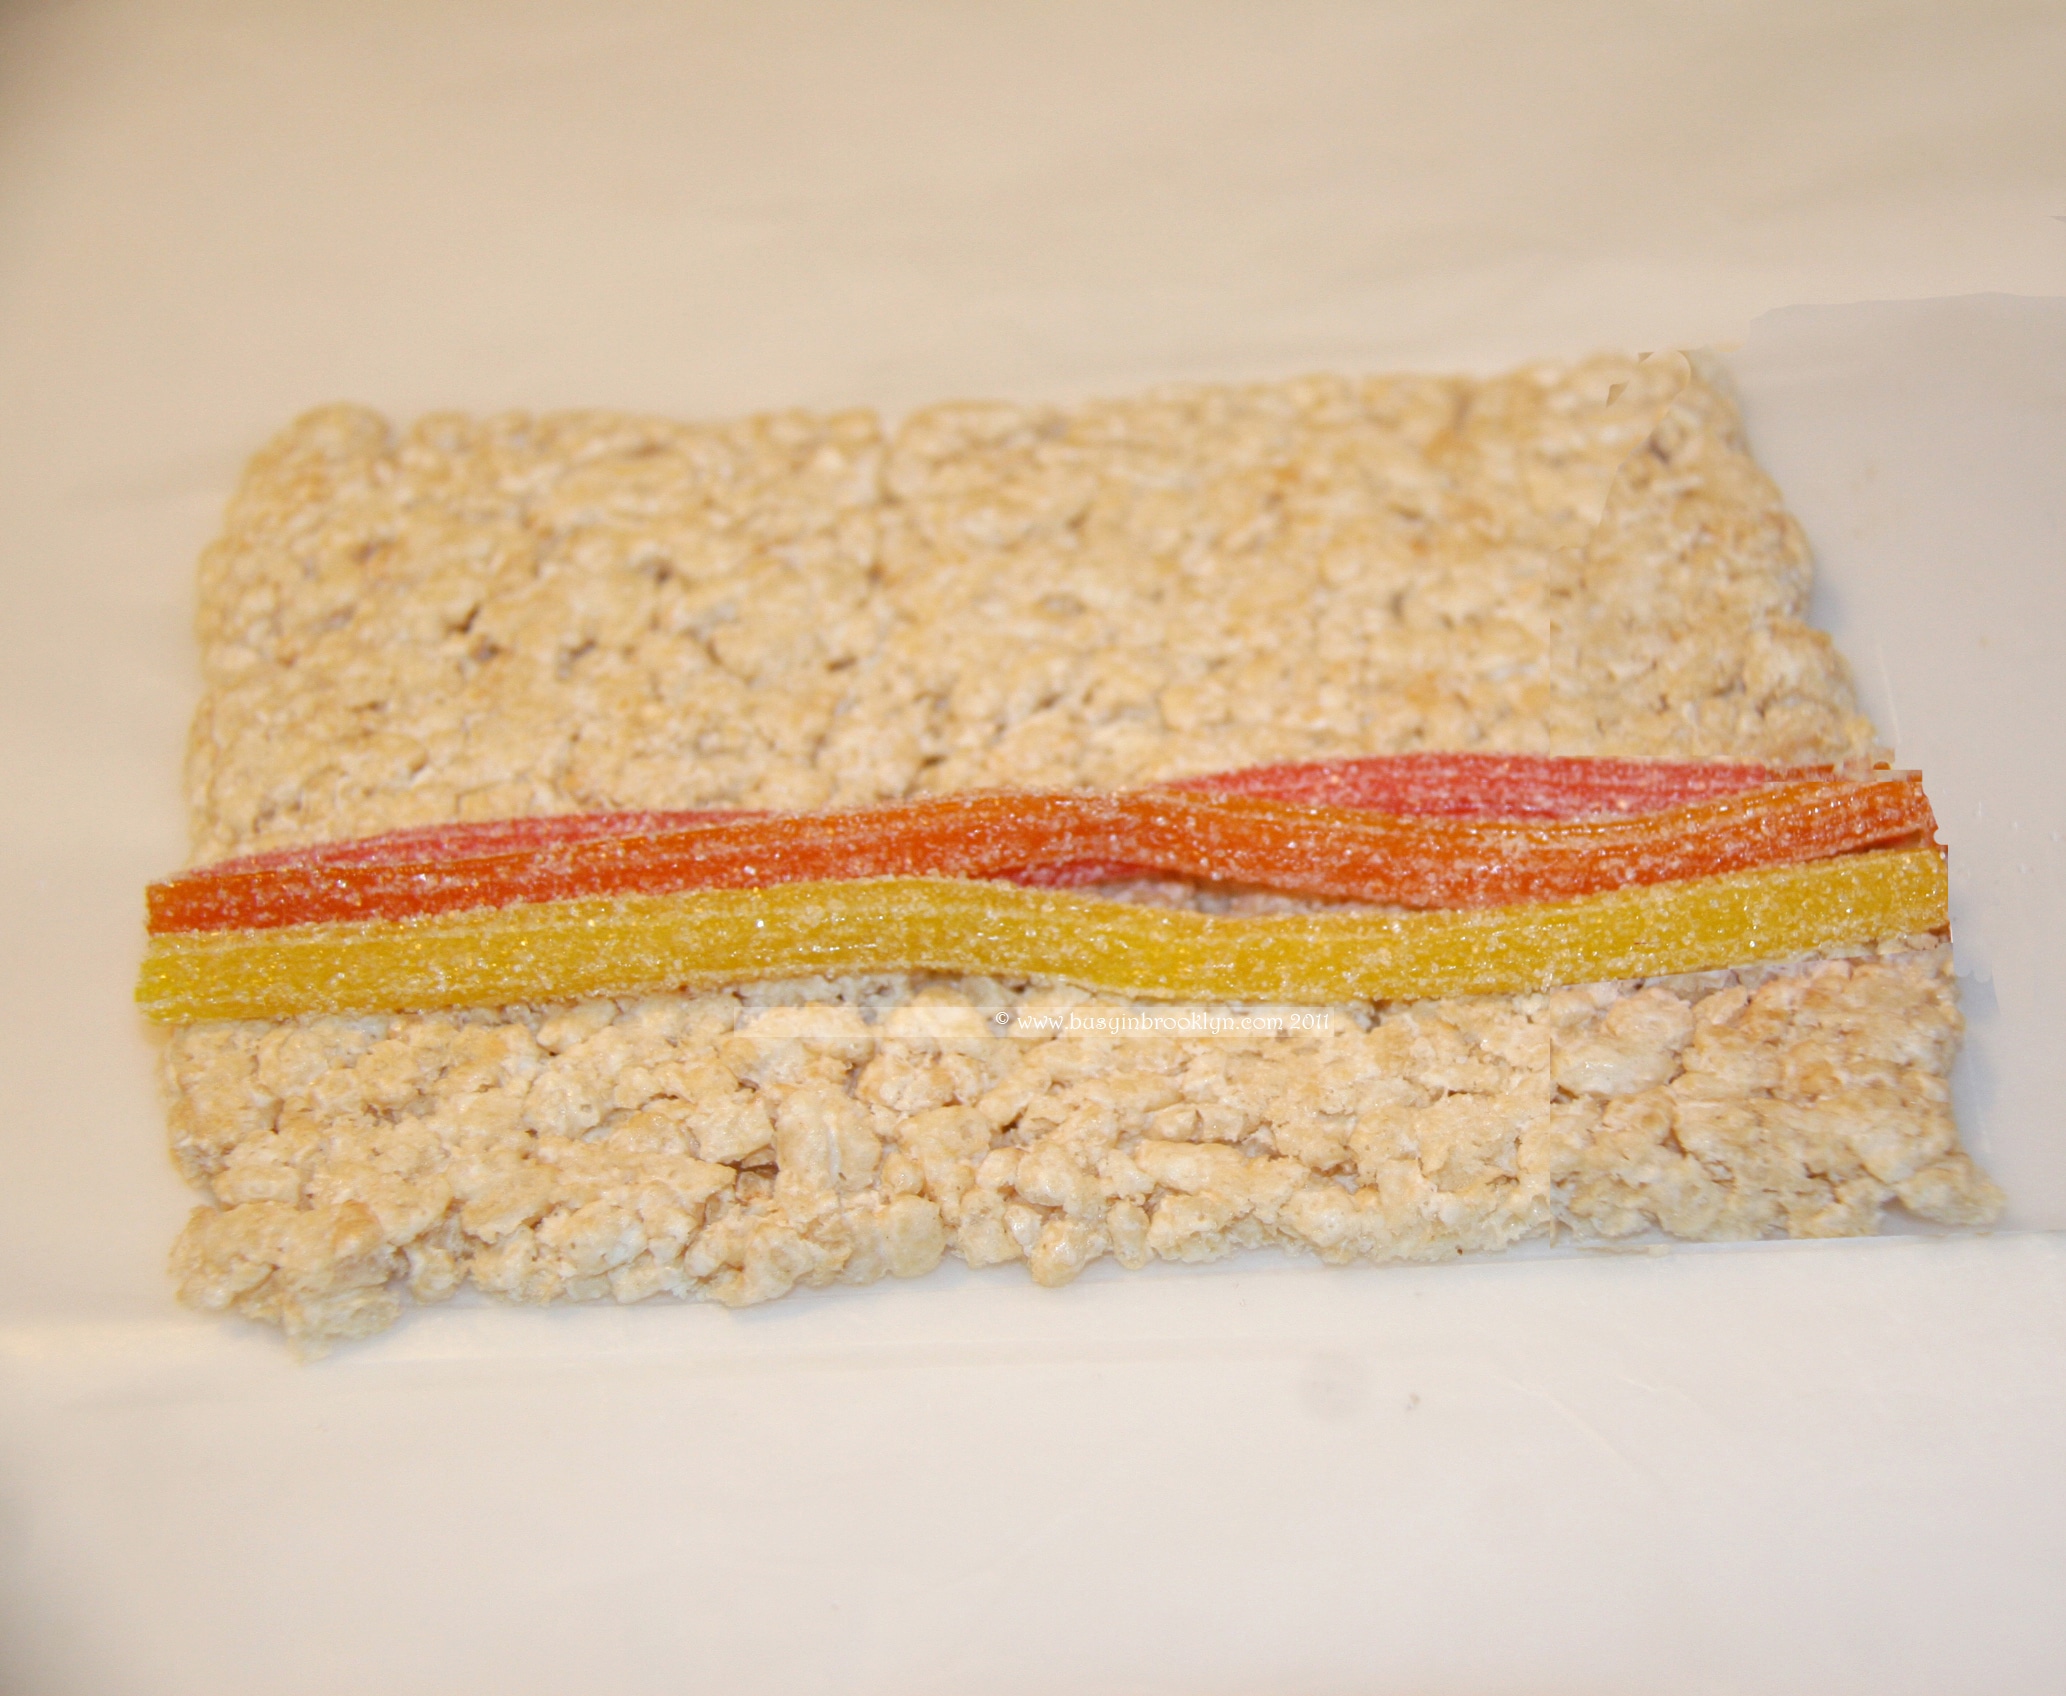
a few sour sticks, twizzlers, or other long strips of candy
Method:
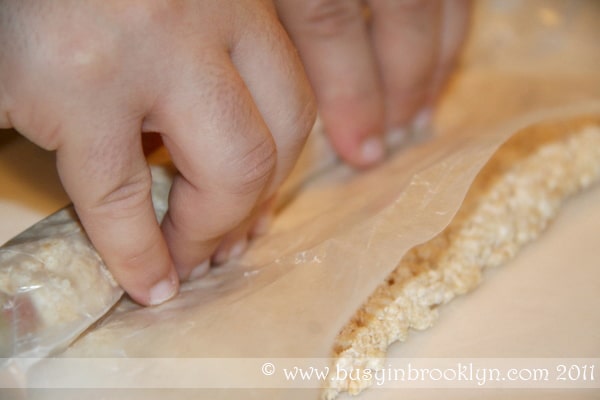
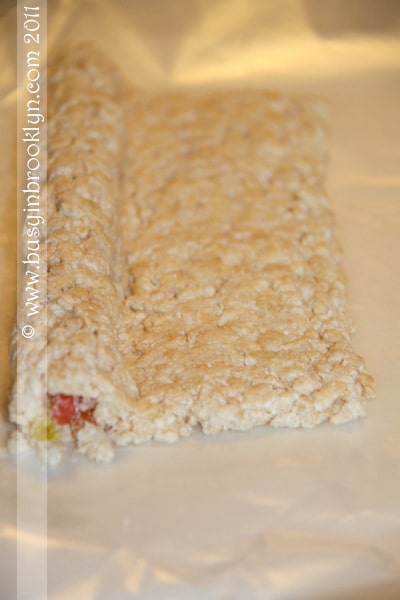
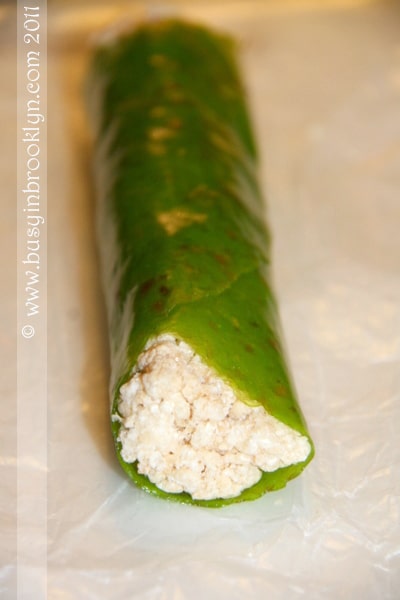
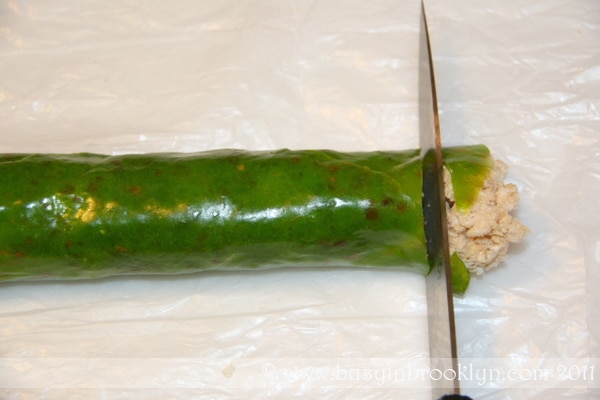
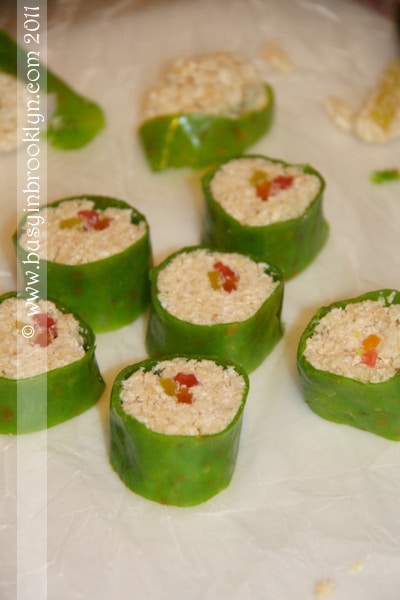
Place rice krispies treat squares on wax paper and roll out with a rolling pin (I used one from my kids playdough set) until it measures about 4″x6″, or prepare home-made sheets. Place sour sticks along the length of the treats, near either end. Roll the edge over the sour sticks, pressing down to make sure it is tight (I use wax paper to help me do this, just like you would use a bamboo mat to make real sushi). Continue rolling around until your have a log. Place the log on top of the fruit roll up and wrap around tightly. Cut into slices (you can save the ends for noshing) and serve!