Category: Crafts

Crocheted Pacifier Clip

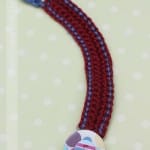
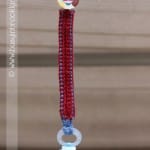
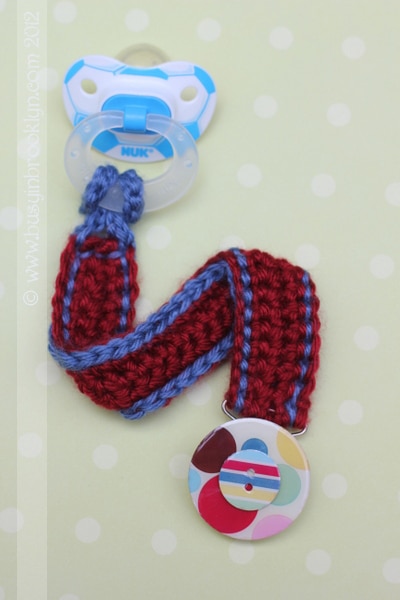
When I haven’t crocheted in while, I always think I’m going to forget what to do. But honestly, it’s just like riding a bike. The second I put that crochet hook into my hands, it just goes. In this case, my friend had recently had her 5th child and being her fourth boy, I just did not know what to get her. She had all the baby equipment she needed, all the toys you could think of, and plenty of boy clothes to go around. So I asked her straight out and all she really wanted was a pacifier clip (and help with making dinner!) Helping with the food was a given, but I also wanted to make her gift a personal one. Crocheting the pacifier clip made for an adorable gift and gave it the personal touch I was looking for.

This crochet project is super easy and perfect for beginners. You can use any yarn scraps you have lying around as well.

Supplies:

size f hook
worsted weight yarn in 2 colors
Tapestry needle
pacifier clip (available on Etsy)
buttons or other decorative accents

How to:

Crochet a chain of 30 stitches. Single crochet (sc) in each stitch across. Repeat until you have reached exactly the width of the loop of your pacifier clip (should be 4-5 rows). With a contrasting color, slip stitch all around and weave in the ends with a tapestry needle.

Pull the top of the crocheted strip through the loop of the pacifier clip and fold over. Sew the folded edge down with a tapestry needle.

To form the loop that holds the pacifier clip, crochet a chain of about 18 stitches. Slip stitch through each stitch to reinforce the chain. With a tapestry needle and some strap yarn, attach the chain to the ends of the strip you made earlier, forming a loop (or you can just continue to crochet into it and secure together with a chain or two).

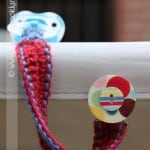
Decorate the top of the pacifier clip with a button, applique or decoration of choice (that complements the colors of your yarn).

To attach the pacifier to the crocheted loop, pull the loop through the pacifier ring and pull the opposite end of the pacifier clip around the ring and through the loop. Pull to tighten.

1 year ago: headbands in a pinch

Post a Comment

Mustache Straws

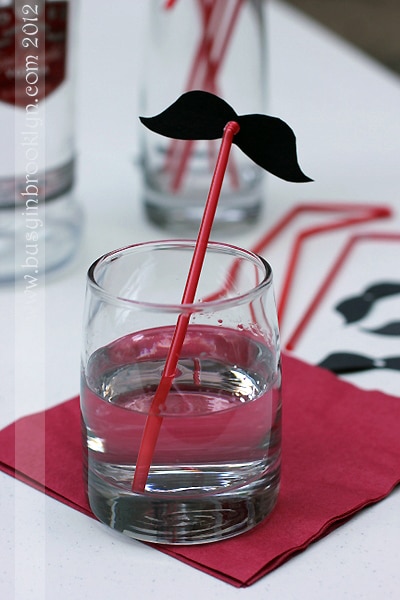
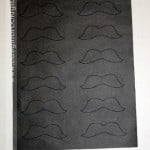
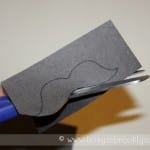
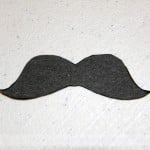
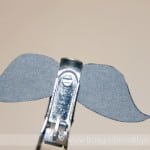
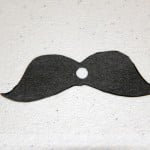
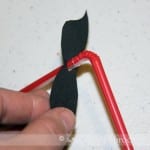
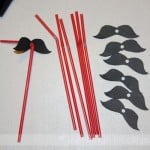
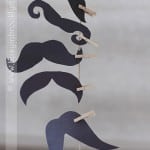
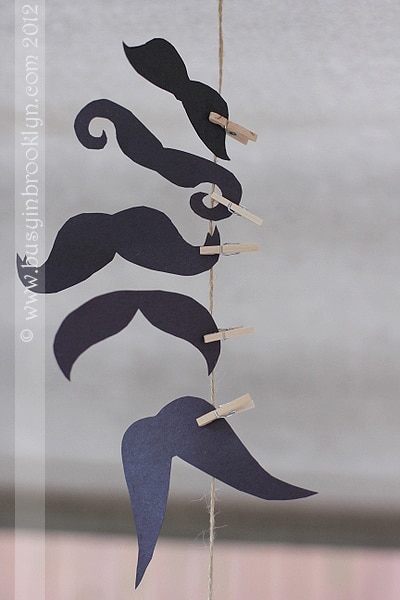
I just love mustache crafts, and since Purim is all about disguising ourselves, I thought it would be fun to prepare mustache straws for the Purim Seudah. You can also use the mustaches as place cards, glue them to napkin rings, or attach them to Popsicle sticks.
If you love these, check out this adorable mustache coffee cup cozy!


1 year ago: Purim ice cream clowns

Post a Comment

Headbands, Bows & Clips


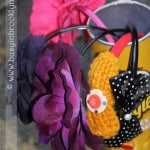
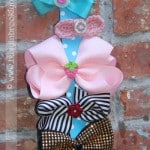
If you have little girls, you know what it’s like when they come home from school with yet another broken headband (or better yet, without their headband…this I can’t help you with). I’ve even started a little bin with all those bows that won’t snap closed, the ribbons that have unraveled, and the headbands that have all but fallen apart. Every couple of months, I go through my stash and bring new life to the tangled mess.
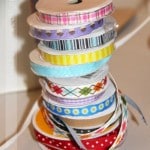
To do this, you’ll need your own assortment of ribbons, headbands and embellishments. I always keep my eyes open for these when I’m in a Family Dollar or a cheap variety store. You can stock up on plain headbands, cheap ribbons and buttons to keep for future projects. There are no instructions for these – just heat up your glue gun and get creative!


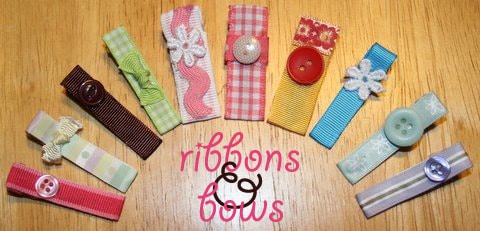
Every pretty bow starts off with a clip. Alligator clips are easy to use and don’t break as easily as others. You can purchase them on Etsy. For a finished look, you’ll want to cover it in ribbon. You can embellish them with buttons, crystals and beads. Here’s how!

First, you’ll need to measure your ribbon to see how long it should be. Place the ribbon inside the clip. Close the clip and wrap the ribbon around, leaving some room around the indent where the spring is. The ribbon should end at the back of the clip, right on top of the opening (see picture). Cut ribbon to size. To remove the frayed edges, hold the ribbon close to candle (don’t put inside the fire, just very close to the heat), you’ll see the thread start to shrivel up. Now, repeat the same steps you did to measure the ribbon, but this time use your hot glue gun to glue it down (see picture). Embellish your ribbon clip with buttons, embellishments or a bow.


1 year ago: shell stitch crochet hat

Post a Comment

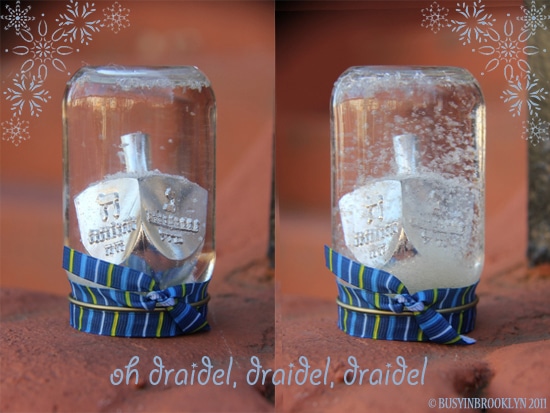
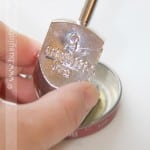
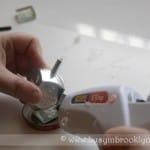
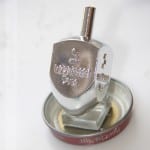
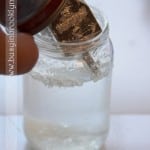
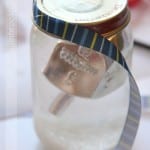
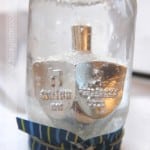
Draidel Snowglobe

Who doesn’t love Chanukah? We get to eat fried foods, unwrap presents, eat pockets full of chocolate change and gample on draidel games. For me, Chanukah is UBER special because it’s my birthday, my anniversary, and the anniversary of my son’s bris. I know, I know, I lose out on the presents, but the truth is, it doesn’t really matter. Chanukah makes me realize just how blessed I am and that is good enough for me!

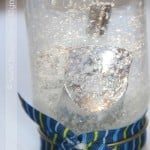
Nothing evokes the spirit of the holidays more than snowglobes. But try and find one that doesn’t include a reindeer, evergreen or snowman – pretty impossible. This year, I decided to make my own Chanukah creation. It was inspired by the landmark dreidel that sits in front of the Jewish Children’s Museum in Brooklyn (if you haven’t gone yet, you must take your kids there for Chanukah!).

You’ll be surprised just how easy it is to make your own snowglobe. Go ahead and include whatever figurine you’d like. A menorah would work really well too.

Post a Comment

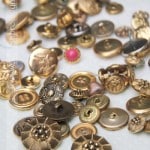
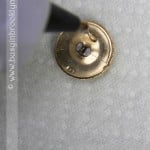
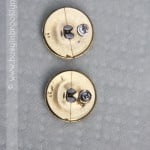
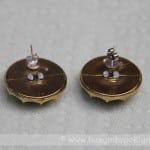
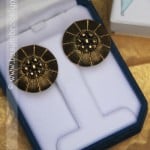
Vintage Buttons Earrings

Lets get crafting! It’s been a while since I posted a craft on my blog, and I’m super excited about this easy way to turn basic buttons into beautiful jewelry!

Buttons are a versatile and inexpensive embellishment that adds a custom touch to clothing, pillows, jewelry, shoes, and more. They can be found in thousands of colors, prints, and materials, opening the door to endless possibilities.

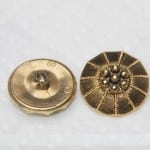
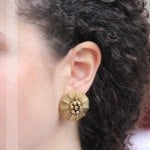
Recently, I began expanding my button collection. When I saw these exquisite vintage buttons on Etsy, I knew I had to do more to them than throw them into my button jar. Turning them into earrings was the perfect way to showcase their beauty. So, the next time you feel like throwing away an old blouse, take a second look at the buttons! You may just find yourself a new pair of earrings!

Some other great ways to use up old buttons:

embellish hats
embellish hairclips
decorate a giftcard
use for scrapbooking
make button napkin rings
decorate a picture frame
update an old pair of shoes
create artwork for kids rooms
glue them to magnets or thumbtacks

How do you recycle old buttons? Share your crafting ideas with me!

Post a Comment