
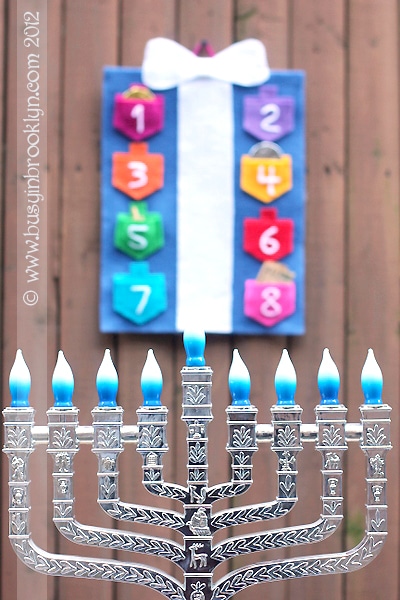
You know all those useless catalogs that stuff up your mailbox before the holidays? Well, it turns out they’re not always so useless. Especially when you’re stumped in the crafting department and you’re looking for some inspiration. The Land of Nod is a great place to find it. I was skimming through their overpriced catalog when I happened upon this idea. And when you have the Hanukkah decor squashed into a quarter of a page (against a several page spread of Christmas decorations) you’ve got to learn to be creative. When I saw the countdown-to-Christmas calendar, I knew I had to make a Chanukah version with draidel pockets for each night. The pockets are perfect little holders for Chanukah chocolate coins, the real (green) stuff, draidels and little gifts. You can even use the center ribbon to personalize it for your family or child.
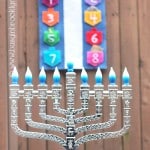
Hang this fun holiday wall hanging behind the menorah for some festive Hannukah decor.
Happy Crafting & Happy Chanukah!
Chanukah Craft
1 9×12 sheet blue felt
2 9×12 sheets white felt
assorted colors felt sheets
glue gun
stapler
dreidel shape template
dreidel pocket template
gift bow template
How to:
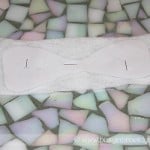
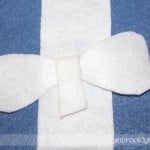
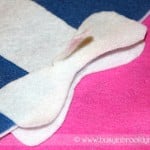
Glue the blue felt sheet to one of the white felt sheets. Cut a piece of white felt 12″ long x 2.35″ wide. Glue it to the center of the blue felt sheet. Using the gift bow template, cut out around the bow shapes and staple them to the remaining white felt sheet. Cut out the bow shapes and the ribbon for the center. Glue one side of the ribbon around the back of one of the bows. Glue one bow to the white backing, and the other to the front blue sheet. Wrap the open end of the ribbon around the back and glue down.
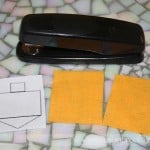
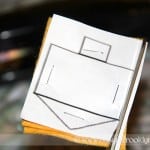
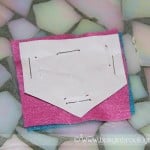
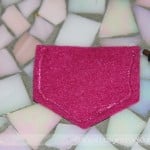
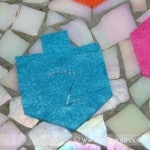
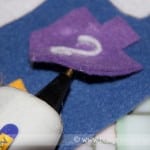
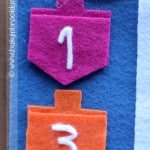
To prepare the draidel pockets, print out 2 copies of each of the draidel templates. Staple the templates to sheets of felt (you can double the felt so you cut 2 at once) and cut out the shapes. Attach the pocket covers to the draidels, making sure to only glue down the sides. Glue all the draidel pockets to the blue felt sheet. For the numbers, cut 8 very thin strips of white felt. Working quickly, draw the number shape with glue onto the draidel pocket and press the strips of felt down on the glue, adjusting the strip to fit the number shape (you can practice with the strips beforehand to set the shape). Alternatively, you may write the numbers with puff paint, or use number stickers.
Fill the pockets each night with Chanukah gelt, chocolate coins, or little gifts!
VARIATION: Instead of a bow, you can make the center strip into a stem for a menorah, and have a menorah branch out at the top. You may also write the family name, child’s name or simply Chanukah along the center strip.
1 year ago: draidel snowglobe
Post a Comment

You are so crafty and creative! I love this idea!
I am totally impressed by this! And I can’t believe how easy it is to do…it’s like the Chanukah version of a Christmas stocking stuffer :)
ADORABLE!
I love this so much! You are so creative. Thank you for sharing the templates so those of use with fewer crafty skills can attempt to make them.
Yours looks better than the one you copied!
This actually looks like a craft even I could do, thanks for the easy instructions.
Adorable! Have an amazing Chanukah, and would love to see you on Craft Schooling Sunday (when it resumes the first Sunday in January) for some more Jewish representation and kosher recipes!
thanks Sara Rivka, I’ll try to remember to post!
Love this! Must make it a yearly staple in my class!
Thank you so much for this great idea! It’s so difficult to come up with festive decorating ideas for Hanukkah and this is both adorable and functional. I made a larger version of it so I could include small toys in each pocket. I also sewed it all as felt glue and hot glue just do not hold up to the abuse my 3-year-old dishes out. All in all it probably took about 6 hours to make, but it will last for years. Now if I could just keep her hands out of all the pockets on the first night. :)
I would love to see a picture of it! Please email it to me at busyinbrooklyn@gmail.com. Thanks!
how did you make the part used for hanging?
I love it and want to make it for my grandchildren.
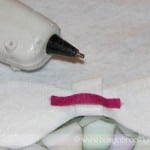
I took a small strip of felt and glued the sides down on the back of the wall hanging. Look at the first picture in the last row of pictures to see how.
Such a cute idea – thank you! I have linked to this post on my latest blog post: http://abusylittlebird.com/10-holiday-crafts-you-can-make/
Thanks for sharing Deanna!
Nearly finished making two of these! Gorgeous! Thanks for post!
Wow! Send me a photo, I’d love to see!
Thank you so much for your great Chanukah wall hanging project. I made 4 of these for my grandchildren to enjoy. I did sew the felt plus I used wool felt from feltonthefly so that it might hold up for years to come. Thank you again for a very special present idea!
That sounds wonderful Joan! I love the idea of sewing the felt, what a personal and special Chanukah gift!
I was not able to download the templates. Is the link broken?
Thank you,
Carol
Works for me!