
Lets get crafting! It’s been a while since I posted a craft on my blog, and I’m super excited about this easy way to turn basic buttons into beautiful jewelry!
Buttons are a versatile and inexpensive embellishment that adds a custom touch to clothing, pillows, jewelry, shoes, and more. They can be found in thousands of colors, prints, and materials, opening the door to endless possibilities.
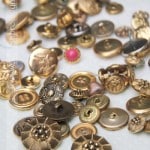
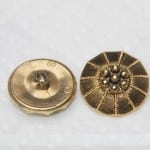
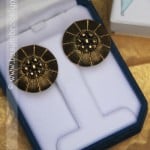
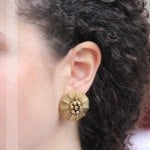
Recently, I began expanding my button collection. When I saw these exquisite vintage buttons on Etsy, I knew I had to do more to them than throw them into my button jar. Turning them into earrings was the perfect way to showcase their beauty. So, the next time you feel like throwing away an old blouse, take a second look at the buttons! You may just find yourself a new pair of earrings!
Some other great ways to use up old buttons:
embellish hats
embellish hairclips
decorate a giftcard
use for scrapbooking
make button napkin rings
decorate a picture frame
update an old pair of shoes
create artwork for kids rooms
glue them to magnets or thumbtacks
How do you recycle old buttons? Share your crafting ideas with me!
How to:
You will need:
pair of buttons
*flat pad earring posts and backs
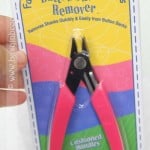
**button shank remover
glue gun
How to:
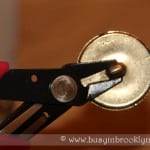
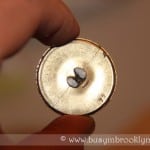
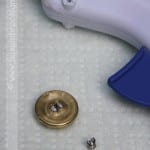
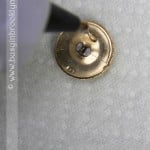
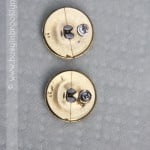
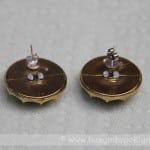
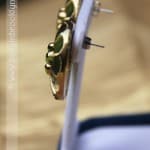
Using a button shank remover, remove the shanks off the back of the buttons. Be careful as they tend to fly when you snip them. Hold the buttons up to your ear to double check where to glue the posts (for larger buttons, you’ll need to glue it higher, for smaller buttons, you’ll need to glue it in the center). Using a bit of glue, attach the posts to the back of the buttons.
*Earring posts are available at jewelry supply stores (or Etsy) and can be purchased in metal, gold plate or sterling silver.
**Button shank removers are also called flush cutters, side cutters, or simply cutters and are available at jewelry supply stores.

These are gorgeous. Button napkin rings sound so cool! How do you make them?
Thanks Mussy! There are two ways you can make button napkin rings:
1. Use plastic shower curtain rings in the color of your choice. Glue buttons around the rings.
2. Use a paper towel tube. Just cut into desired width, glue ribbon over cardboard and glue buttons all around.
Can you do this with vintage glass buttons?
It’s funny you ask, I actually tried to do it but the glue wouldn’t hold. If you find the right bonding medium then it should work. There’s also an issue with the shank. It’s hard to remove since it’s glass. If the button is big enough, you can just keep it on and glue the post above it.
Oh, I see . . . I guess I would just have to experiment. I’m guessing cufflinks might be another good use. Maybe glass buttons might be easier to convert into cufflinks than earrings.
Actually, no. When I tried making the glass earrings, I also made glass cufflinks :) I was trying to do a “his” and “hers” thing and hoping to surprise my husband with cufflinks for Yom Tov (as a match to a pair of earrings for me). Well…long story short, the beautiful glass buttons I bought would not hold to the cufflinks OR the earrings, so if you find a bonding medium that works (no time to research it), let me know!
Ahh . . . I see . . . Interesting! If I find a solution, I will let you know. I have access to vintage glass buttons, so it would be worth finding out.
love this.
thanks Faygie!