When it comes to the end of the year, every teacher deserves a little token of appreciation to show them just how much we value what they have done for our children. To me, that token isn’t so much about what you give, but more about how you give it. I think it’s important to take the time to write a nice card (perhaps attach a photo) and give a gift that is more thoughtful than elaborate. Making your gift a personal one can also help you cut down on spending. When you need to purchase gifts for quite a few teachers, assistants, therapists as well as bus drivers and monitors, creativity is key. If you are not the creative type, you can search pinterest for some inspiration, or give a gift card with a handwritten note.
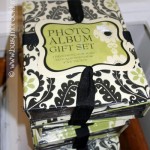
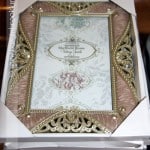
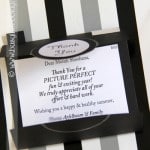
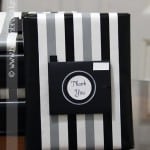
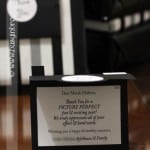
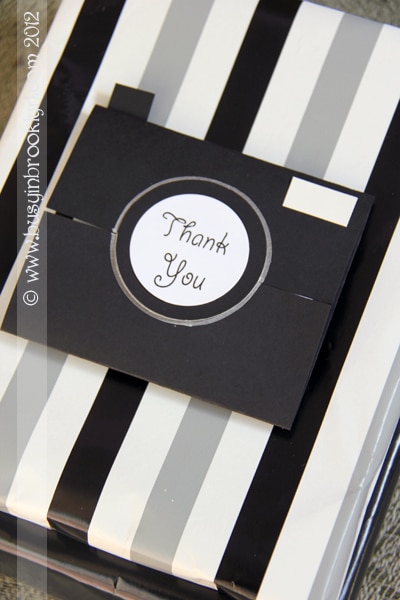
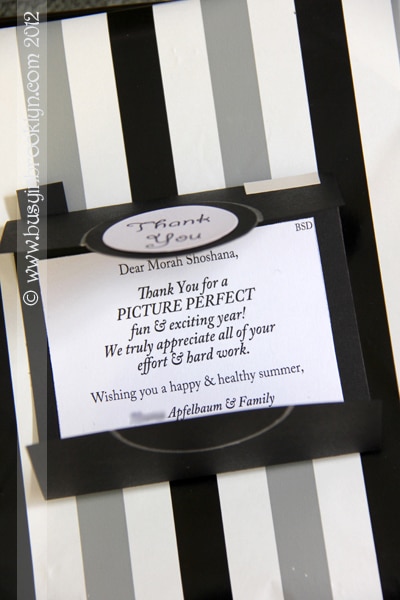
This year, after driving myself kinda crazy, I finally came up with this “picture perfect theme”. I included a set of photo albums and a picture frame, and designed this camera thank you card to top it off. I don’t love my handwriting so I typed up a message thanking the teachers for a picture perfect year.
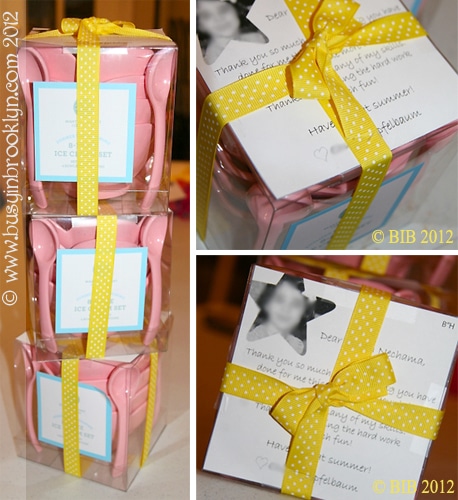
Last year, I found some super cute ice cream sets, which was so fitting for a pre-summer gift. I printed out thank you notes with pictures of my daughters and glued it to the top of each box, wrapping each one in ribbon. The teachers loved them!
A few years ago, when my daughter was in playgroup, I purchased target gift cards for her teachers and therapist. I included these handwritten poems (which I had time to come up with because she was my only one back then!), as well as photos with each one.
For the teacher:
I want to thank you for everything this year,
for all your attention and tender loving care.
The Parsha and Yomim Tovim I learned so well,
each week at the shabbos table i’d tell.
All of the songs and stories of the week,
then mommy would give me a kiss on my cheek.
Thank you for sitting with me when i ate,
it’s due to your prodding that i put on weight.
You also helped me to eat with utensils,
and color with crayons, pens and pencils.
I know all my diapers were really not pretty,
I wish I’d been trained, it’s really a pity!
All of your dress ups and all of your toys,
were such fun to play with the girls and the boys.
To drink from a cup, this year i did learn,
too bad next year I can’t return.
For I’ll miss you and all of my friends a lot,
it’s time for headstart for this 3 year old tot!
This gift card is just a token to say,
I appreciate the efforts you made every day.
So use it to purchase whatever you wish,
a mop or a top or a pretty new dish.
In this economy we can all use,
a gift card to buy whatever we choose!
For the therapist:
Thank you for everything you’ve done for me this year,
from walking to running to sitting straight in my chair.
I know some days were hard and I didnt cooperate,
the fact that you pushed me, I really appreciate.
It’s because of your efforts that I’ve mastered the stairs,
now my mommy can shed a few less tears.
Worrying about my progress each day,
she’s happy to see that I’m jumping ok.
I know I still have a long way to go,
but from where I started, I really did grow.
This token is just a little something to say,
I appreciate the efforts you made every day.
So use it to purchase whatever you wish,
a mop or a top or a pretty new dish.
In this economy we can all use,
a gift card to buy whatever we choose!
I hope that these ideas have inspired you to create something personal for your children’s teachers. They truly deserve it!
What you’ll need:
photo-related gift such as album or picture frame
wrapping paper (that complements the colors of your card)
1 sheet 8.5 x 11 black cardstock
1 sheet 8.5 x 11 white cardstock
metallic sharpie
scissors
glue or double sided tape
card template
thank you template
How to:
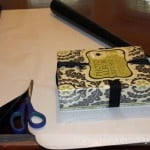
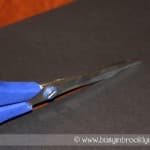
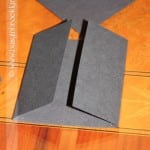
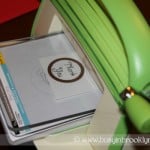
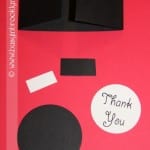
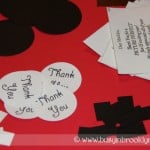
Wrap your gift with wrapping paper. Print the card template onto the black cardstock and the thank you template onto the white cardstock. Cut the black cardstock along the dotted lines, you will have 2 cards, 2 outer lenses, and 2 camera buttons. Cut out the inner lenses and flashes from the white cardstock (you’ll have enough for 6 cards so cut out as much as you need). Fold down the sides of the cards so that the ends meet at the center (see picture). Glue or tape the flash to the upper right corner. Glue or tape the camera button behind the card in the upper left corner. Glue the inner lens onto the outer lens and then glue or tape the top half of the lens onto the center of the card. Place a piece of scrap paper between the fold of the card (so that the marker doesn’t leak through) and using a metallic sharpie, outline the lens so that you have a silver ring around it. Discard the scrap paper. You can hand-write a note inside the card or type one up and attach it. Make sure to include the words “PICTURE PERFECT” in line with the theme. If you’d like, you can add a small piece of double sided tape to the bottom of the camera lens so that it keeps the card closed.
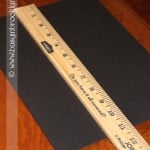
If you do not have a printer, you can still make these cards by hand. Just measure with a ruler and cut with a scissor (or you can eyeball it). The cards should be 4 1/4″ wide by 7 1/4″ high. The lens rings should be roughly 1 7/8″ and 2 3/8″ wide.
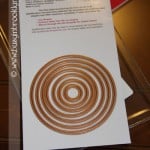
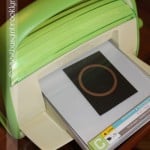
NOTE: As pictured, I cut the lenses using my cuttlebug machine with the nestabilities die cuts. You can cut it by hand, I just like the perfect finish that comes from using a die cutting machine.
1 year ago: tuna salad with a twist
Post a Comment
