Category: Crafts

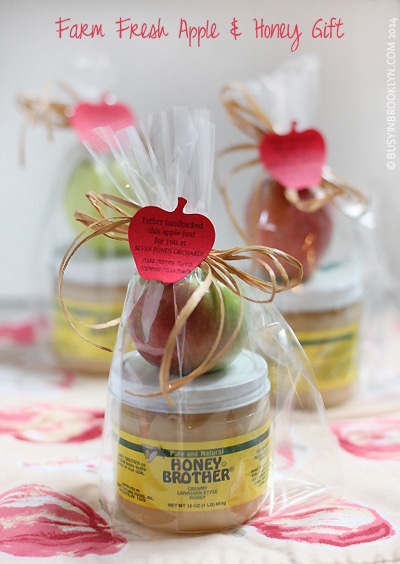
Farm Fresh Apple & Honey Gift

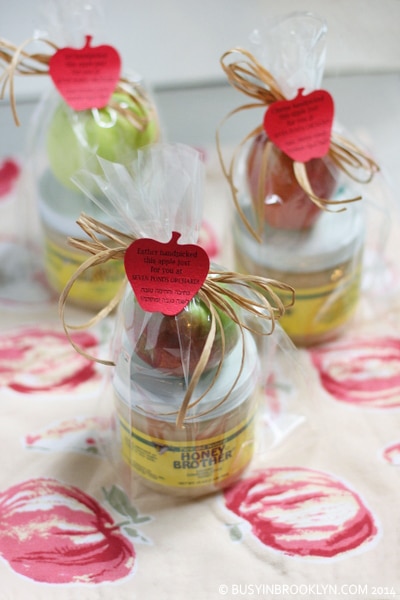
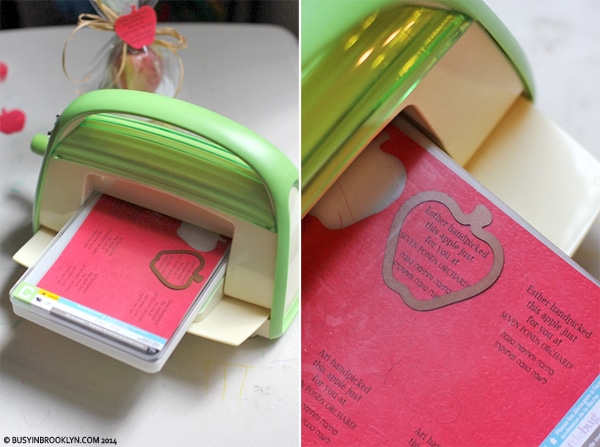
I may be one of the only nerds out there who still uses a Cuttlebug. Call me old-fashioned but there’s something really nice about the art of a homemade gift. Sure you can buy a beautiful glass honey dish at the gift shop, or a delicious honey cake at the bakery, but it doesn’t compare to a basket of hand-picked apples or a thoughtful package that you wrapped yourself.
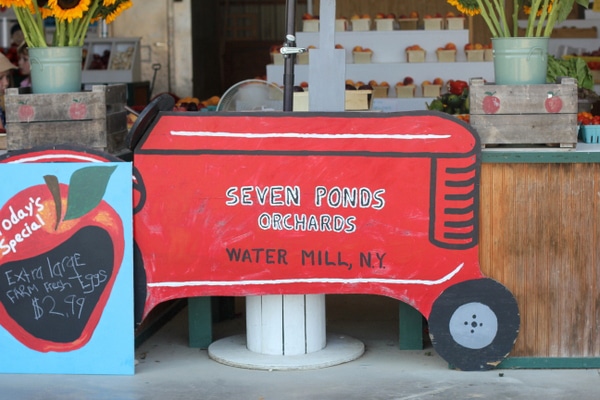
With summer coming to an end, there’s no better time to hand-pick some apples. The dropping temperatures and falling leaves just beg for some warm apple pie, and there’s shortage of apple recipes you can make, especially around the holidays. With Rosh Hashanah just around the bend, you’ll need plenty to dip into sweet sticky honey, and more to caramelize for my delicious honey cake.

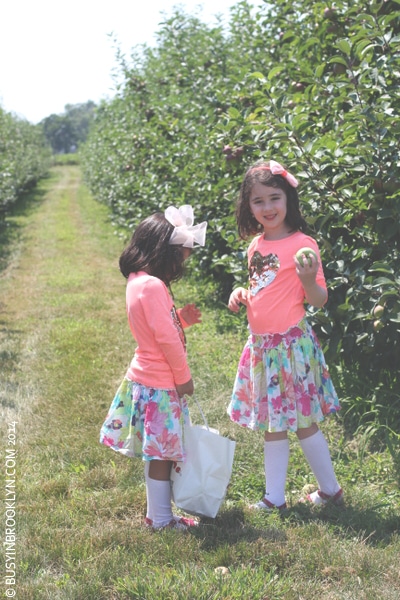
If you’ve never been to a U-Pick farm (Kelder’s is one of my favorites) , it’s a must for the family! There’s nothing quite like teaching your children where their food comes from, and having them pick it with their own two hands. The beauty of nature and it’s bounty is a precious gift!
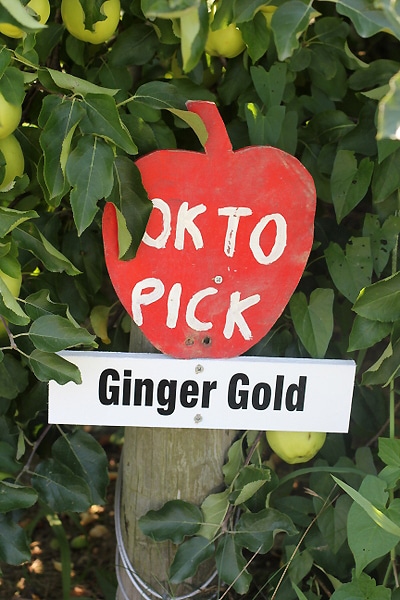
The end of summer is the perfect time for apple picking, with a variety of apples ripe for choosing. I love to showcase a variety of apples at my Rosh Hashanah meal, passing them around the table with an assortment of honey. It takes apple-dipped-in-honey to a whole ‘nother level, especially when you’ve picked the apples yourselves.
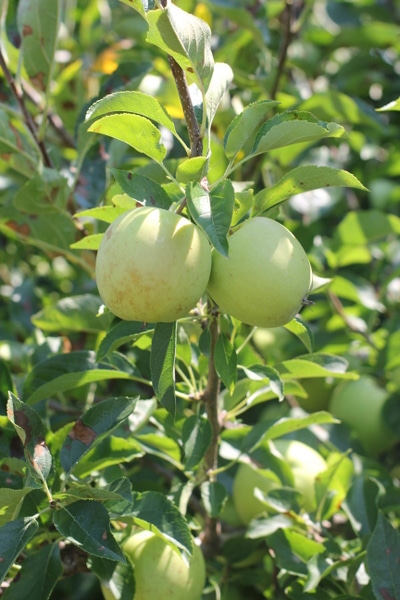
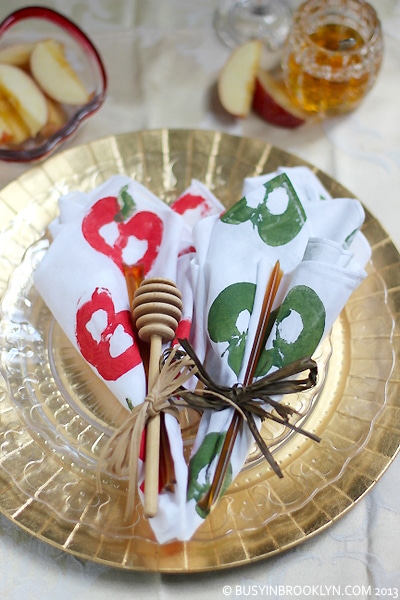
Of course you can also showcase your apples in an apple & honey salad, in an apple and honey tart, in sweet apple turnovers , or even on apple napkins!
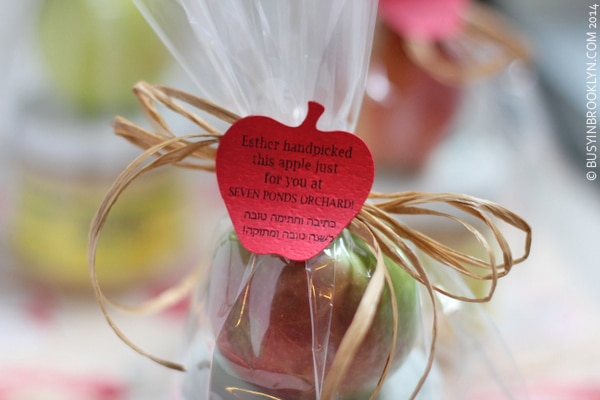
Best of all, you can give some of those hand-picked apples away in a thoughtful gift to teachers, neighbors or friends. If you don’t have a cuttlebug machine (why would you?), you can just make the little card by hand – no muss, no fuss!
If you’re not much of a crafter, and you want to go the easy-way-out, just tie a big red ribbon on a bag of apples, stick in a honey bear and you’re all set for a sweet New Year.
P.S. I’m called dibs on my kid’s classes this year – so if you’re kid is in the same class, go buy some honey cake! :)

Related Posts:

apple napkins
easy crochet apple trivet
picture perfect teacher’s gift
DIY teacher’s gift

Post a Comment

DIY Glitter Mustache Glasses

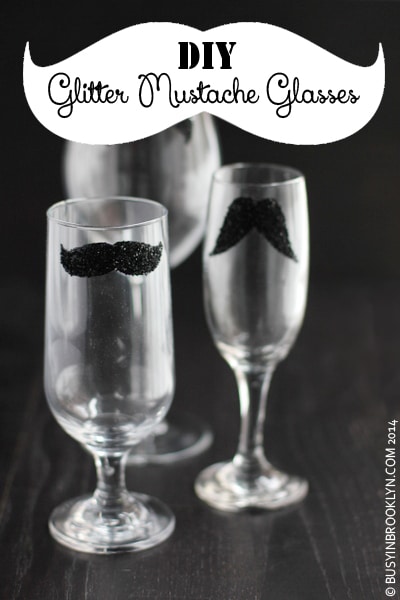
I’m just gaga for mustache crafts, I admit it! They’re just so. darn. cute. You might have seen my mustache straws or my crocheted coffee cup mustache cozy, other mustache crafts I adore.

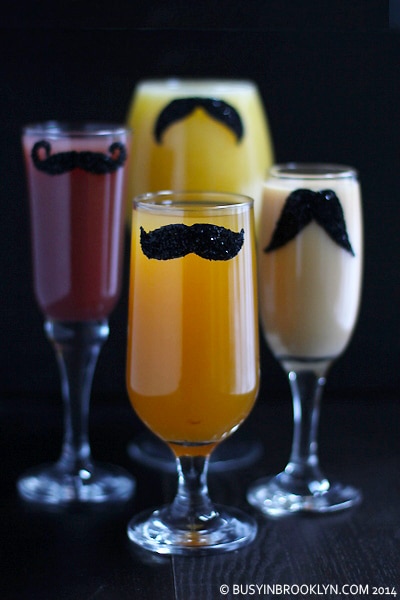
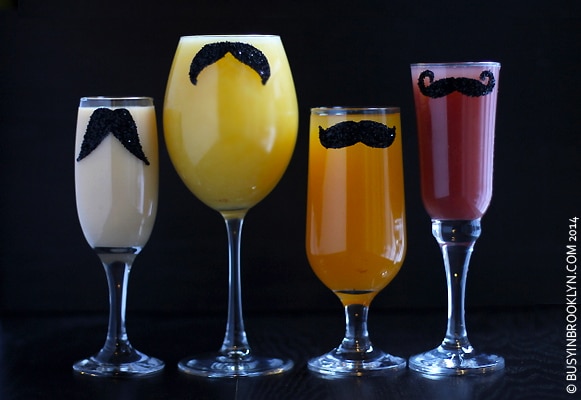
Purim is the perfect time to celebrate with mustache mania. The holiday is all about dress up and diguises, so why not dress up your tablescape with these adorable mustache glasses? I love to use different shape glasses for visual impact, but feel free to do these on shot glasses or even disposable martini ones!

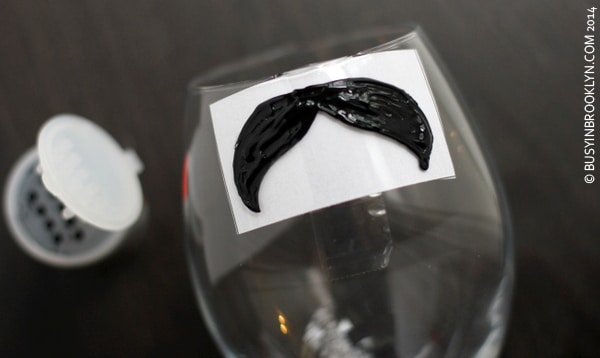
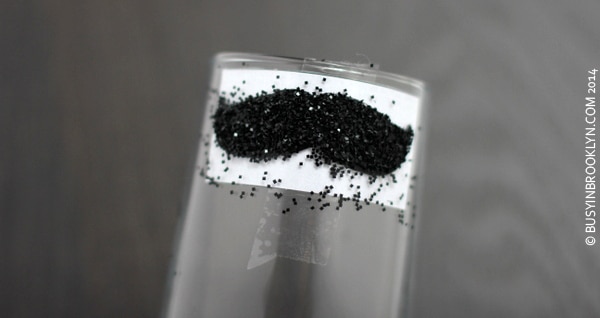
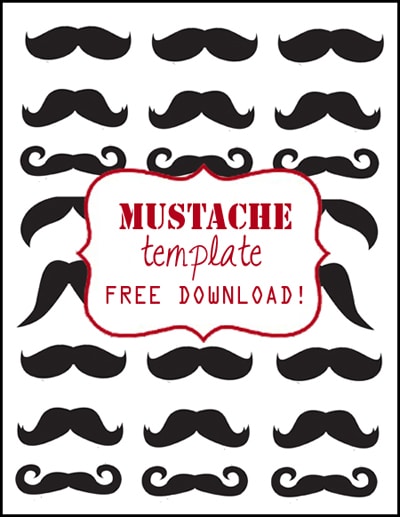
There are so many options and variations when it comes to a craft like this, so go with your style and dress these glasses up however you like! Colorful sharpies work (as a temporary option, they’ll wash off with soap and water), colorful glitter adds a fun touch or use the template to create photo props or mustache straws.

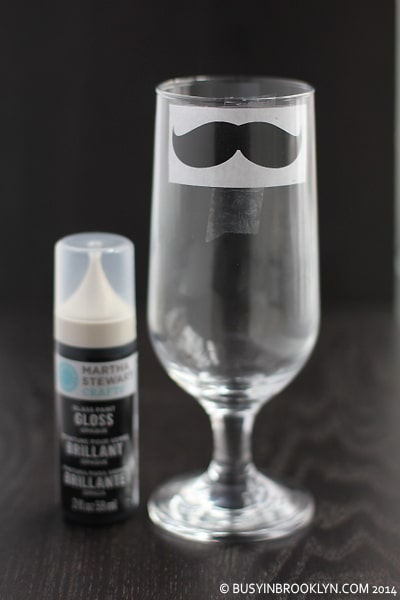
I have to give a shout out to the talented Abbey Wolin of Not2Shabbey. She gave me the brilliant idea of taping the template to the inside of the glass – how smart is that? No need to cut out the mustache or create a stencil, simply trace through the glass!

For more fun glitter projects, check out the gorgeous glitter wine bottle centerpieces we decorated at the JCreate Magazine Blogger Purim Party!

Other Mustache Crafts:

mustache straws
crocheted coffee cup mustache cozy

Cocktail Recipes:

The Hamantini
whiskey cider
3 layer chocolate cake martini
Sangria

Post a Comment

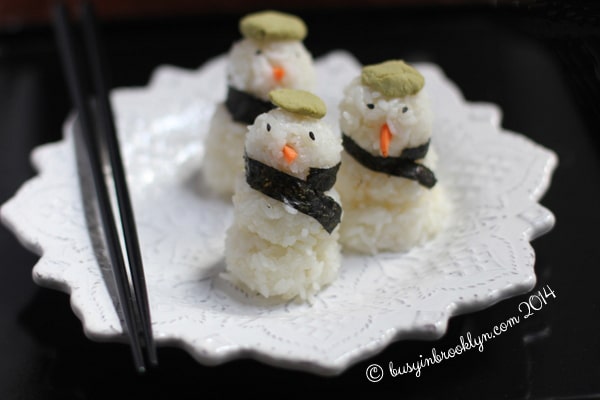
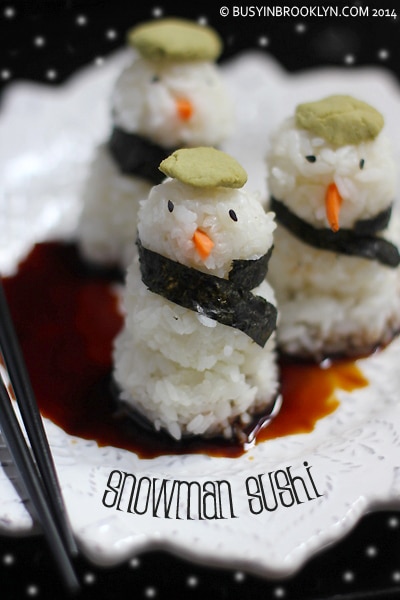
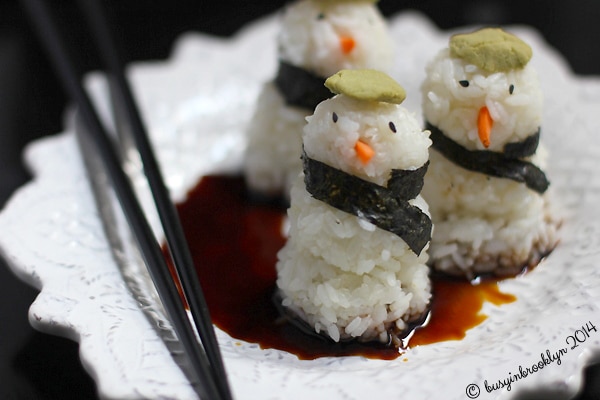
Snowman Sushi

OK so I like to play with my food. Is that such a bad thing? I mean, would you look at these cute little guys? Don’t you just want to eat them up?! I don’t know why I can’t just eat regular sushi like everyone else. If I’m not making this sushi salad, I’m whipping up sushi hamantaschen or sushi candy. Somebody save me from my sushi obsession!

And when I set my sights even higher, I make things like this incredible 3-tier sushi wedding “cake”.  I made it for a charity fundraiser a few years ago, and people walked right past it thinking it was covered in fondant. The rose is made of pickled ginger and the leaves are molded from wasabi paste. Each layer is filled with a different vegetable and wrapped in nori “ribbon”.

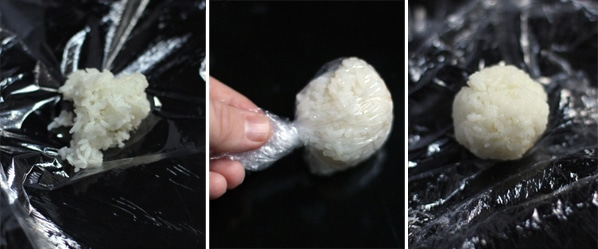
The thing about sushi is – it’s sticky. So sticky, in fact, that when you try to work with it, it gets glued to your fingers. The trick is, to let some plastic wrap do the work for you. Just squeeze as tight as you can and the rice will mold itself into whatever shape you wish. And right now, I wish for adorable sweet little snowmen!

Other Sushi Recipes:

sushi salad
sushi salad II
kani salad
sushi hamantaschen (onigiri)
candy sushi

Post a Comment

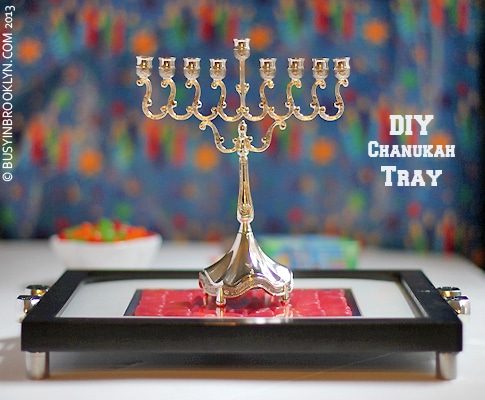
DIY Candy Mosaic Chanukah Tray

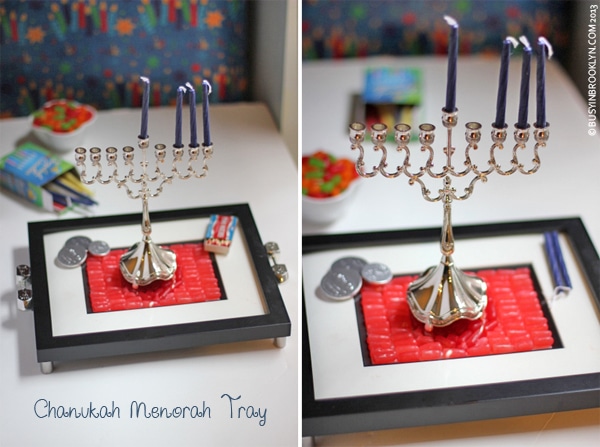
While this blog has become mostly about food, I still try and put on my crafting apron every once in a while, especially around the holidays. When I was given the opportunity to develop a craft for the Joy of Kosher Mike ‘n Ike Campaign – I was all over it. But coming up with a craft using oblong shaped candy isn’t as easy as it looks.

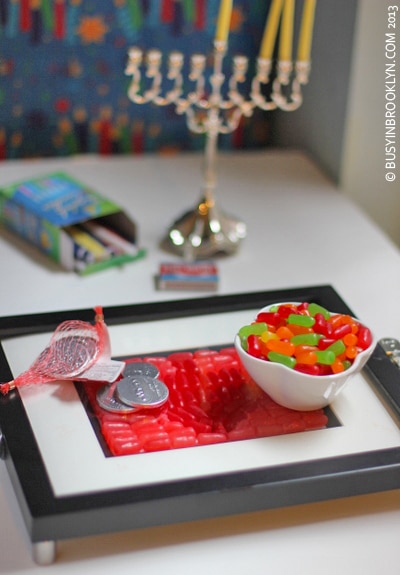
I don’t know if you’ve ever tried lighting a handful of menorah’s on a small plastic table with oily wicks and colorful candles scattered everywhere. It’s not pretty. Usually, we just wrap our table with aluminum foil for easy cleanup. But the truth is, I’ve always wanted a pretty tray to make the table look more festive. Making your own tray using a picture frame is pretty easy, and sprucing it up for Chanukah is all in the details.


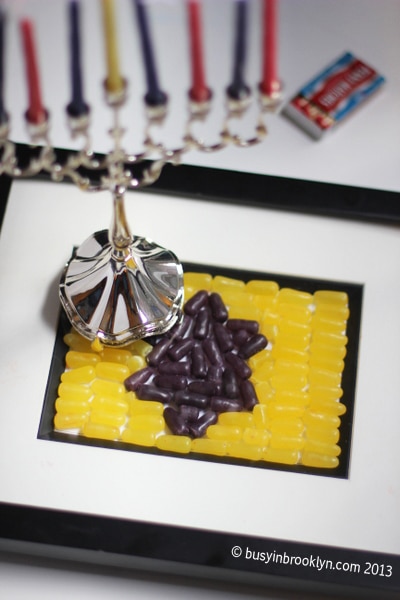
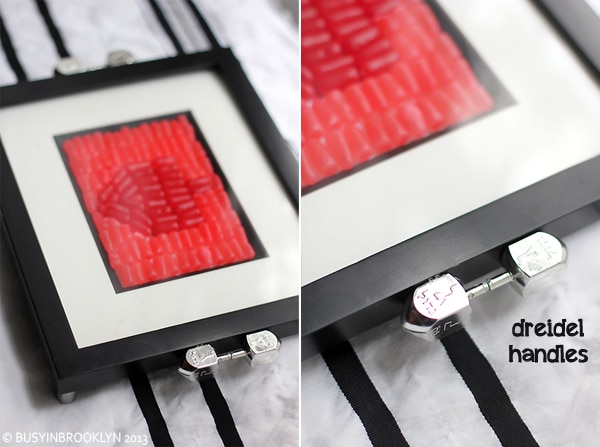
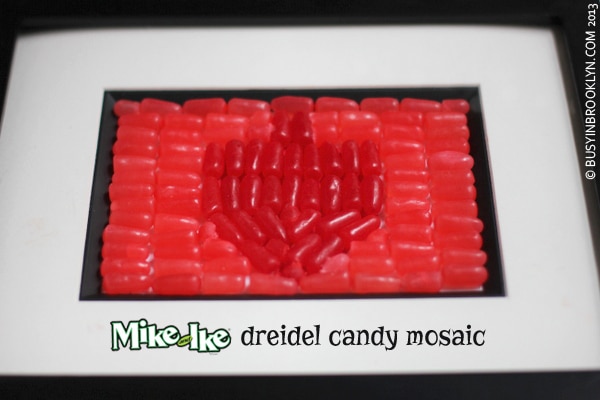
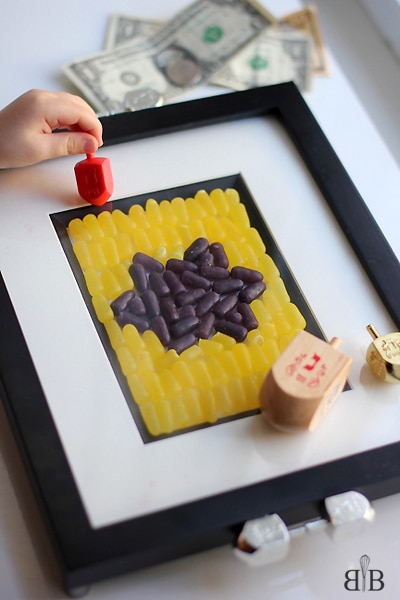
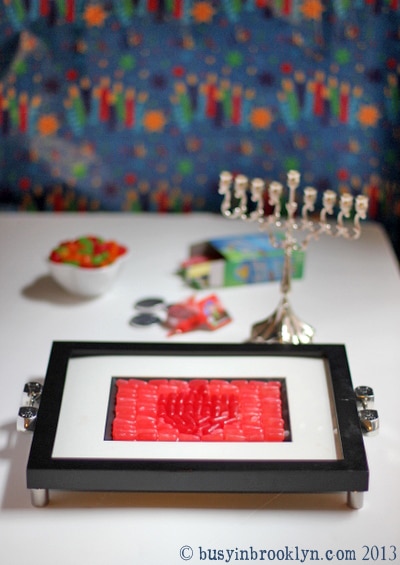
To vamp up the Chanukah flair, I created dreidel handles by gluing two draidel to the sides of the frame (gimmel-side-up, of course!). Then, I turned to my bag of colorful (and tasty!) Mike & Ikes to create a custom candy mosaic under the glass. The candies had my kids squealing with excitement, as they watched the mosaic unfold into different shapes.

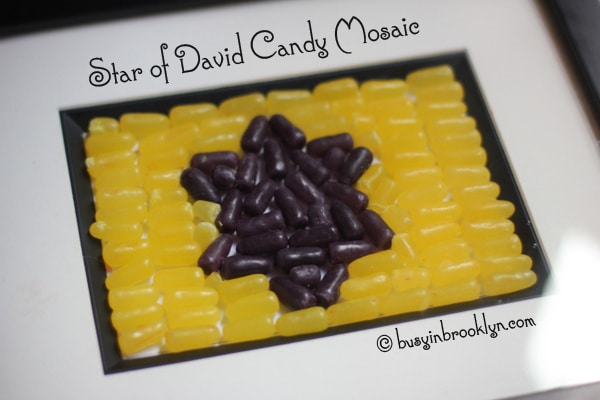
I spread double sided tape onto a paper that fit perfectly inside the frame matte. Then, I went to work “drawing” different shapes with candies. I tried creating a menorah, writing the word Chanukah in Hebrew, designing a dreidel and a Star of David. It takes some work maneuvering the candy around until it fits perfectly. One of the best parts about creating the candy mosaic, was noshing on the candy as I was doing it! I needed half of a Mike & Ike in some spots, and my kids were all too happy to “cut” the candy in half, with their teeth.


I love how versatile this tray is. You can make a big one for the whole family, or individual small ones for each menorah. And it doesn’t have to be just for Menorah lighting.  You can also use it to serve candy at your Chanukah party.

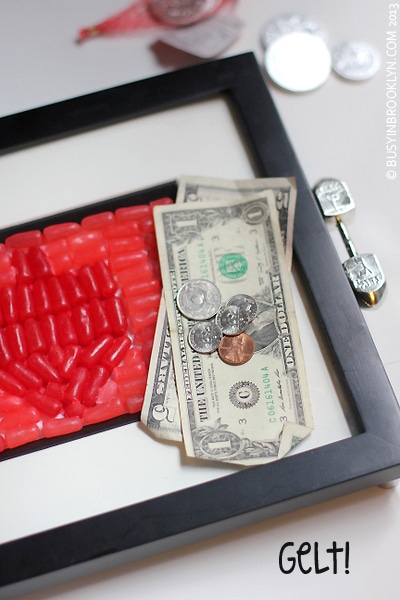
Imagine a collection of trays to adorn your Chanukah set-up. You can make individual ones as a school craft, or set one out at your party to collect Chanukah gelt for the kiddies!

Imagine a tray to display your collection of dreidels! Or one where the kids gather around to play (and bet!)


I encourage you to use your imagination in creating a fun candy mosaic. Draw Chanukah symbols, or abtract “art”.  It doesnt’ really matter – it’s candy, and no matter what you do with it, it will look awesome!

The most important thing is to have fun, no matter how you decorate! For detailed instructions to create this candy mosaic Chanukah tray, head on over to Joy of Kosher.

Other Mike & Ike Crafts & Recipes:

Mike & Ike Butterfly Candy Craft
Mike & Ike Menorah
Mike & Ike Rainbow Cake
Mike & Ike Rice Krispy Treats
Mike & Ike Bejeweled Sugar Cookies

Other Chanukah Crafts:

Chanukah Wall Hanging Craft
Dreidel Snowglobe

Post a Comment

Apple Napkins

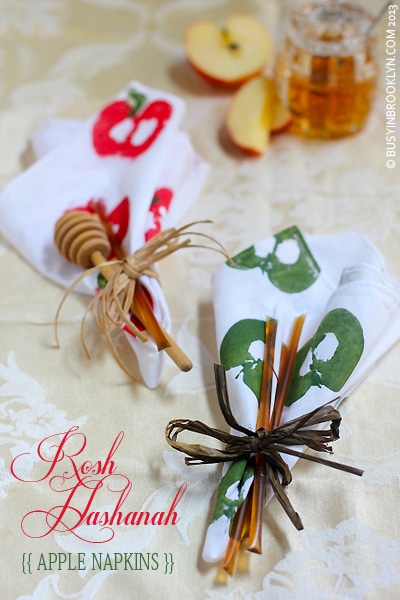
This is just one of those crafts that has been on my mind since forever. OK maybe not forever. But ever since I saw this on Pinterest. Pinterest will do that to you. Just when you think you’re over the whole crafting thing, you’ll see a really awesome idea, and it will just pick at your brain until you do something about it. So I did. And my Rosh Hashanah table will thank me for it!


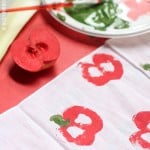
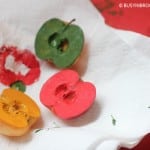
Fruits & veggies aren’t just for eating anymore. They make the prettiest natural stamps when brushed with some paint. The ends of endives and celery stalks are no longer trash as more & more people are turning to fruit and vegetable stamping as a hobby. Follow my instructions below for adorable Rosh Hashanah apple napkins (I also decorated an apron!), or find inspiration in your refrigerator to create naturally beautiful projects.

For other great holiday crafting ideas, check out the August issue of JCreate Magazine. You’ll find my crocheted apple trivet on page 26.

What you’ll need:

1 fresh apple
1 celery stick
melon baller or measuring spoon
linen napkins in white or cream
fabric paint in red and green (I used these from Target)
paintbrush

How to:

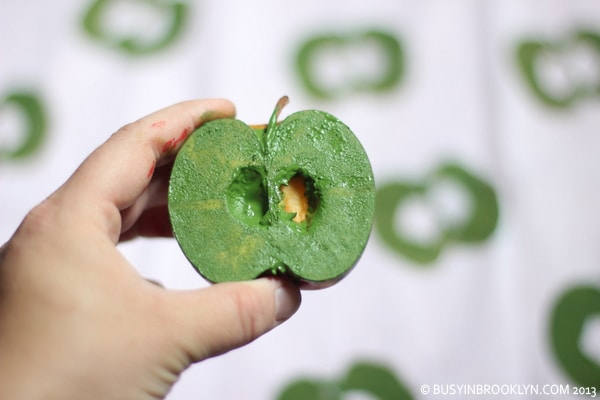
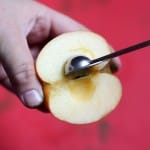
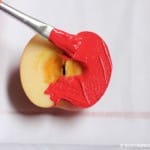
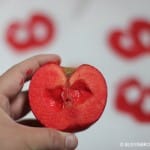
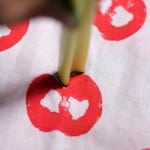
Slice your apple in half and using a melon baller or measuring spoon, remove the seeds and scrape the apple to define the shape. Using a small paintbrush, paint the apple with fabric-safe paint and press down firmly on the linen napkin (you may want to practice on some paper towel first). Repeat to create desired pattern, painting the apple in between each “stamp.” If leaves are desired, use a celery stick to create a leaf shape on top of the apples.

Set the napkins aside to dry overnight.

For your place setting, tie the napkins in raffia and fill with honey sticks and/or wooden honey dippers.

Related Posts:

crocheted apple trivets
easy paper napkin roses

Post a Comment