Ah, sous-vide, the intimidating, yet popular, modernist cooking technique. What is it, and how do you do it? What are the benefits of sous vide cooking and is it safe? Read on.
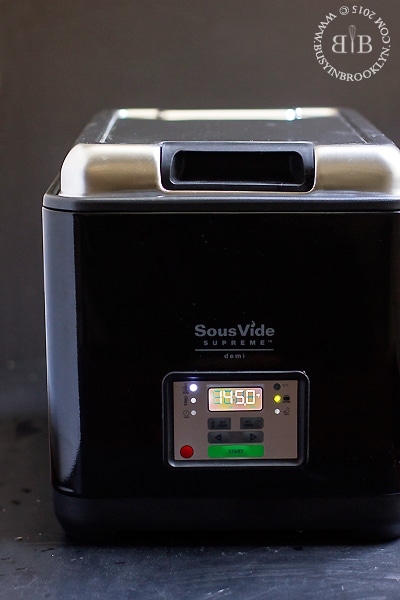
I’m a strong believer in keeping with the times, especially in your field of work. As a food blogger-turned-chef, I can’t help but notice that SousVide is everywhere. From home cooks to professional chefs, everyone is doing it! I was having some serious sous-vide fomo when the folks over at Sous Vide Supreme sent me their SousVide Supreme Promo Pack to try, complete with a water oven, vacuum sealer, pouches and their easy sous vide cookbook. I was apprehensive, to say the least. In fact, the machine sat unopened for a couple of weeks until I finally mustered up the courage to get started. Why was I so intimidated by a water bath machine? Read on.
Sous vide, which means, “under vacuum” is a method of cooking in which food is vacuum sealed in plastic bags and then cooked in a temperature-controlled water bath. Once your food reaches your desired temperature, it can be held at that temperature for hours, so you can put up a steak in the morning, and come home to a perfectly cooked medium-rare piece of meat (as opposed to a crockpot, which would turn the steak into a pot roast). Being able to cook food to an exact temperature is a chef’s dream, but cooking it at a low temperature where bacteria are prone to breed, is also a nightmare.
One of the most important things you learn in culinary school is food safety. When I attended the Center for Kosher Culinary Arts back in 2013, I opted to take a food safety and sanitation course, where I learned all the guidelines for safe food handling. I am now certified by the National Restaurant Association as well as the NYC Dept. of Health as having trained in food safety. The course, and the following exam, were not easy. I had to memorize all sorts of bacteria, corresponding illnesses, different degrees and temperatures at which bacteria grows, etc. I’m proud to say that I passed with flying colors (having gotten only 1 question wrong), but I also took plenty of neuroses home with me! Having trained in food safety, I have become so careful about the way that I handle food, and also a bit neurotic about the way people around me do too. When you realize that foodborne illness can literally lead to death, it becomes a serious threat!
Why am I sharing all this? Well…one of the key elements of food safety is TCS: temperature control for safety. To keep food safe from bacteria, you need to keep your food at a safe temperature. The danger zone, where food is prone to bacteria growth, is 40-140 degrees Fahrenheit. Often, when cooking sous-vide, food is cooked at these low temperatures for long periods of time. Red flag anyone?! Well, it turns out, that after researching this I learned about the logarithmic decay curve. Food safety is a function of both temperature and time. This means, that pasteurization can happen at a lower temperature, it will just take longer. You probably know that it’s recommended for chicken to be cooked to 165 degrees, and that’s because, at that temperature, chicken is sterilized instantly, but pasteurization actually begins at 126.5 degrees. So you can actually cook chicken safely at 140 degrees, it will just take longer to pasteurize (about 45 minutes or so). This is why it’s important to follow the recommended minimum cooking times for food from the manufacturer of your sous-vide machine.
OK, so now that we can agree that sous-vide food won’t kill you, lets discuss the PROS & CONS!
Some of the benefits of sous-vide cooking include:
You can cook your food to the perfect desired temperature.
Say you want perfectly medium steak, you cook it at 135 for 1-4 hours and you get perfectly. medium. steak.
Your food is cooked evenly.
You know how when you grill or broil a steak, or even a burger, the outside is slightly overdone, while the inside is just how you like it? Well with sous-vide, it’s all exactly how you like it, through and through.
You get a larger yield.
You know how when you braise an expensive roast, you open the pot and wonder where half of the roast has gone? The meat shrinks during cooking and you’re left with half of it’s original size. When cooking sous-vide, shrinkage is greatly reduced, so you get more for your money.
You can set it and forget it.
Unlike a slowcooker, sous-vide cooking allows you to put up your dinner in the morning without it being reduced to mush by the time you get home. Imagine putting up some eggs, running to the bakery for fresh bread, picking up some coffee and then coming home to perfectly runny eggs an hour later. {Insert egg emoji here}
It enhances flavors.
Vacuum sealing the food seals in flavors, so when you make things like honey lavendar chicken, you can actually taste the honey and the lavender!
It does wonders for veggies.
One of my favorite ways to cook vegetables is via blanching. Blanching locks in the bright color of the veggies and keeps them perfectly tender-crisp. You get the same with sous-vide, minus the ice water bath.
What I didn’t like about the sous vide process:
It takes forever to heat up.
Getting the water bath to reach your desired temperature takes a ridiculously long amount of time. It helps to start with hot water, which greatly reduces the preheating time.
Say goodbye to pan-gravy.
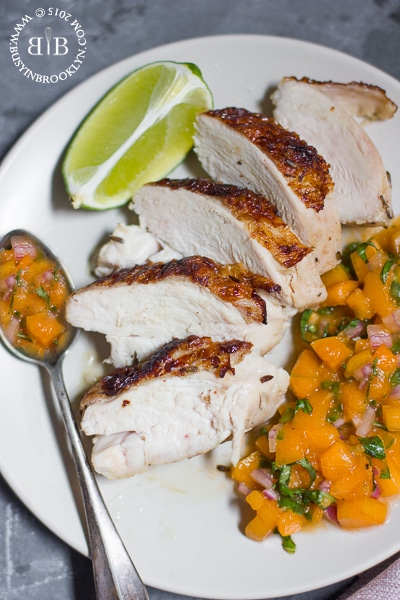
With sous-vide, you get the benefits of poaching (extremely tender proteins), but you lose out on the delicious flavor compounds that develop when searing and roasting. For this reason, some chefs recommend searing your meat or chicken before cooking sous-vide, to enhance the flavor. Alternatively, you may also finish your cooked food with a quick sear (as I did with this recipe) for crispy texture, added color and flavor.
Temperatures can fluctuate.
If sous-vide is about temperature control, I’d imagine that it should be able to do just that – control the temperature. I was surprised to see fluctuations in the temperature, however minor, during cooking. One reader suggested putting a layer of bubble wrap over the water bath to prevent evaporative cooling.
Some foods float in the bath.
Sous-vide machines are often called immersion circulators because it circulates and heats the water bath around the food. They key is that the food is immersed in the water bath, and that is how it cooks. However, certain foods, especially vegetables, float to the top, not allowing them to cook properly. One solution, is to use the rack that’s included in the machine, to hold the food in place under the bath, or, a chef once recommended vacuum sealing some butter knives and using them as a tool to weigh down the food.
Flavors can be too pronounced.
The fact that vacuum sealing enhances flavors is a definite pro, but it can also have less than favorable results. Certain ingredients don’t work well when their flavor is magnified, such as bay leaf, or alcohol, which can give food a drunken flavor. Even the lavender I used in this recipe is pronounced, but at just 1/2 tsp, I found the flavor to be pleasant.
It’s potentially unsafe.
As mentioned above, cooking food in the temperature danger zone (40-140 degrees) provides a environment for pathogens to grow rapidly. If you’re not careful about cooking times (as specified by the product manufacturer), your food can become contaminated. In addition, if your food is not properly vacuum sealed, or your food becomes contaminated during prep, cooking sous-vide poses an additional threat. It’s also important to mention that you must use vacuum bags that have been designed specifically for sous-vide use as some plastics can leach out chemicals into the food.
Want to learn more about how to cook sous vide chicken? I found THIS GUIDE extremely helpful! Their egg and meat guides are a must-read too!
Want to try sous-vide at home and don’t have a sous-vide machine? Learn about the stovetop method using Ziploc bags here!
Do you have any sous vide tips, tricks or recipes to share? Post them in the comments below!
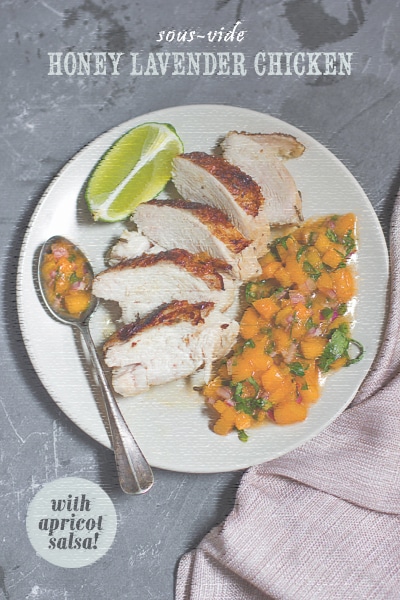
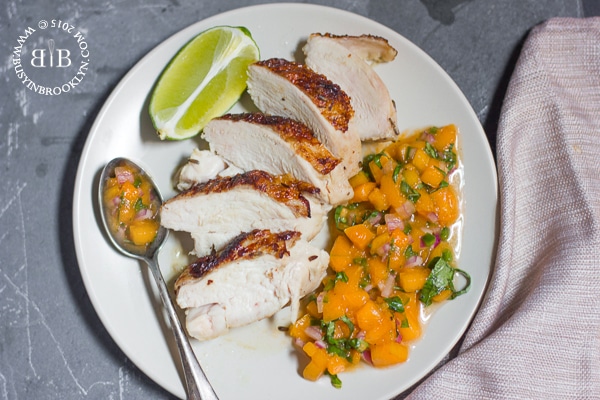
Souse Vide Honey Lavender Chicken
1-2 boneless chicken breasts, skin-on
1/2 tsp lavender
salt and pepper, to taste
1 slice of lemon
1 heaping tsp honey
2 tbsp olive oil, divided
apricot salsa, for serving (recipe follows)
Method:
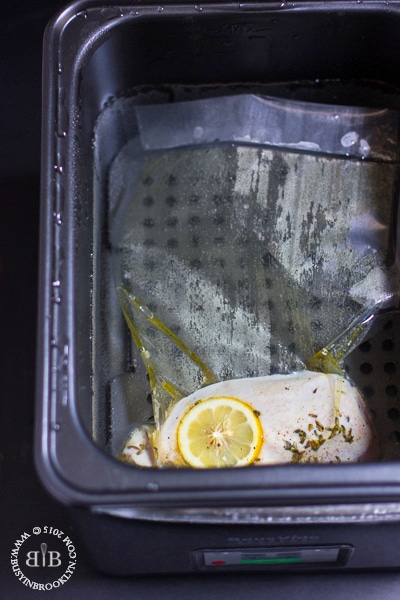
Set the water bath of your sous-vide machine to 145 degrees.
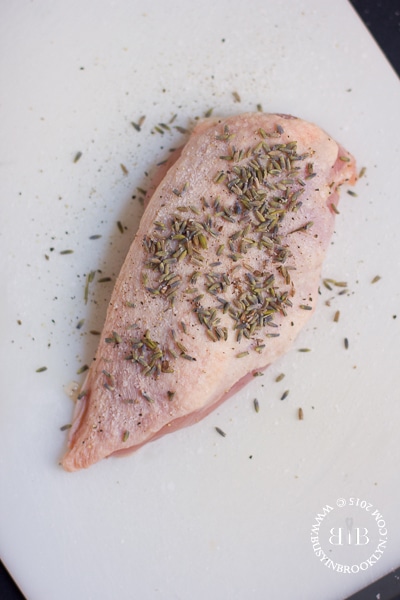
Season the chicken with lavender, salt and pepper. Fold the top of the vacuum-bag over itself to form a cuff. This will prevent chicken juices from getting on the edges of the bag, which can interfere with the seal.
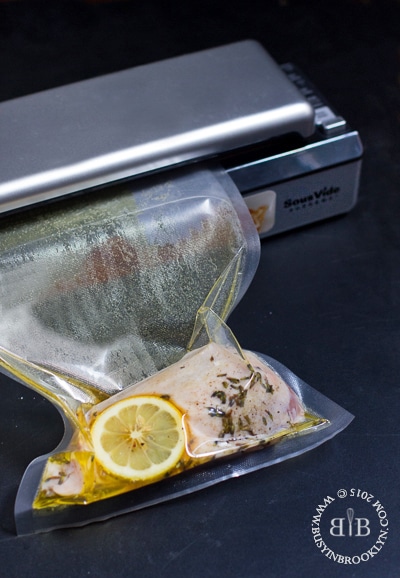
Slide the chicken into the bag and add honey, lemon and olive oil.
Unfold the edge of the bag and vacuum seal.
Place the chicken into the water bath and cook for 1 1/2 hours (or up to 4 hours).
Remove the chicken from the bag and pat the skin dry. Heat a skillet with a tablespoon of olive oil and cook the chicken, skin-side-down, until golden and crispy.
Slice and serve with apricot salsa.
NOTE: If you don’t have a sous-vide machine, you can make the chicken as follows; Place the chicken in a ziploc bag with the lavender, salt, pepper, lemon, honey and olive oil. Refrigerate the chicken for a few hours (or overnight). Place the chicken in a pan skin-side-up and roast at 400 degrees until the skin is crispy and the chicken is cooked through, about 30 minutes. For crispier skin, broil for a few minutes.
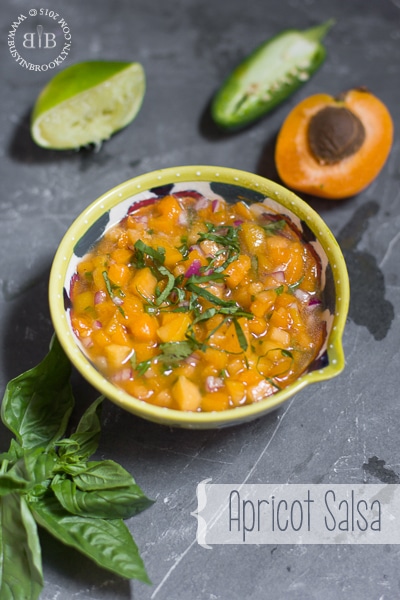
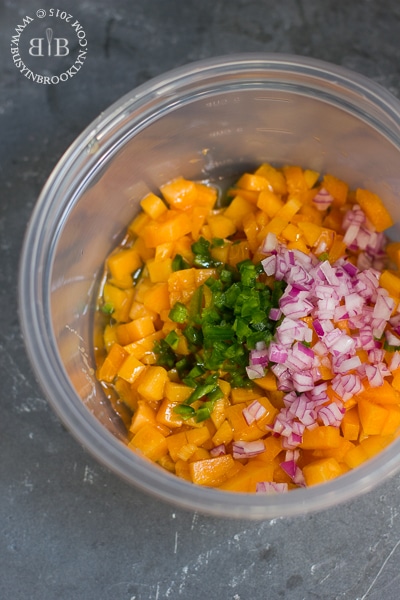
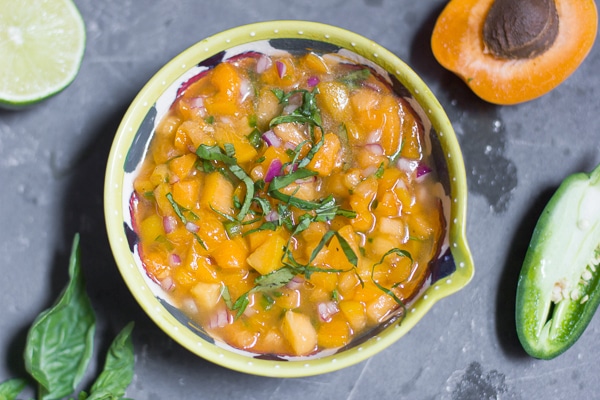
Apricot Salsa
2 firm apricots, finely diced
1/2 jalapeno, seeds and veins removed, finely diced
1/2 small red onion, finely diced
1 tbsp honey
1 tbsp olive oil
4 basil leaves, chiffonade
juice of 1/2 lime
salt and pepper, to taste
Method:
Add all the ingredients to a bowl and stir to combine. Adjust seasoning to taste. Serve with honey lavender chicken.
This post was sponsored by Sous Vide Supreme. All opinions are my own.


 ‘
‘