Category: Snacks

Gingerbread Cupcakes with
Brown Sugar Cream Cheese Frosting

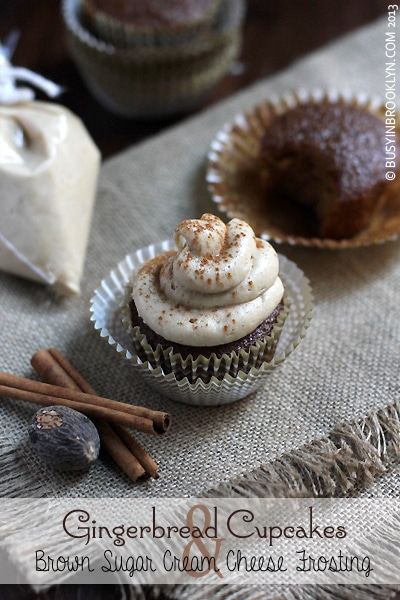
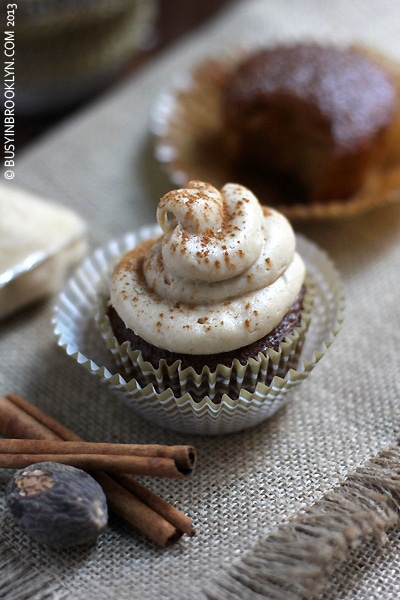
If you follow me on Facebook or Instagram, you’ve probably already drooled over these gorgeous gingerbread cupcakes. I made them during the fast of Tisha B’av, so I wasn’t about to photograph them, but I did talk about them, a LOT. The next day, I had just 3 cupcakes left, so I decided to do what any foodie/blogger would – share! It was hard not to gobble down the last of them before getting a good shot, they’re just THAT good.

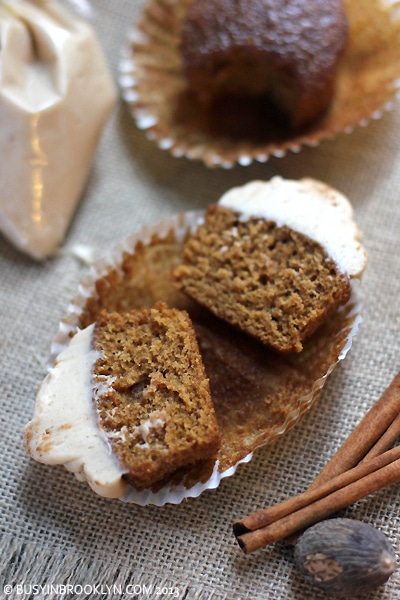
Besides being incredibly moist, these gingerbread cupcakes are chock-full of warm autumn spices. I didn’t think my kids would go for the flavors of ginger and nutmeg, but I was SO wrong – they could not get enough. Not only that, my little cream-cheese-haters were licking the frosting off their fingers! I think I’m going to start whipping up sweet cream cheese concoctions and call them “frosting sandwiches.” It will make lunch a whole lot easier for me!

1 year ago: chicken lollipops 
2 years ago: cherry yogurt popsicles 

Post a Comment

Orange Creamsicle Pops

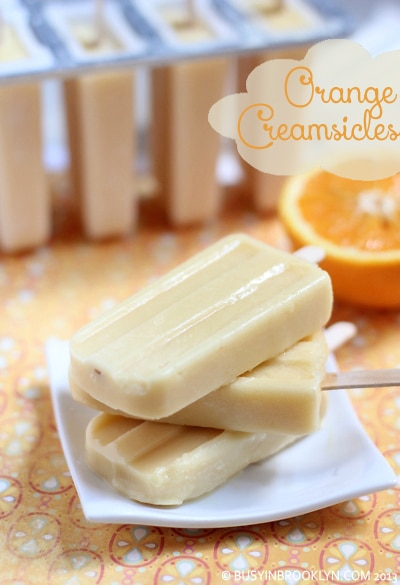
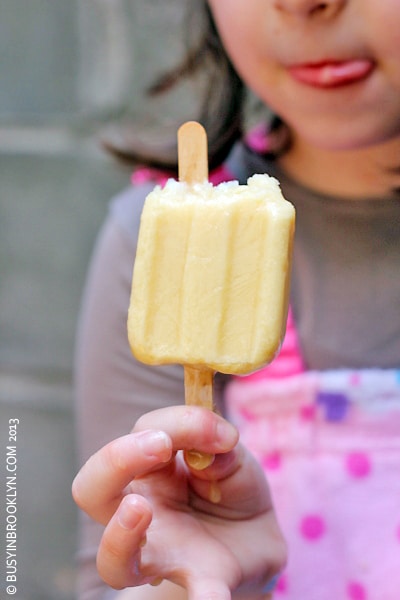
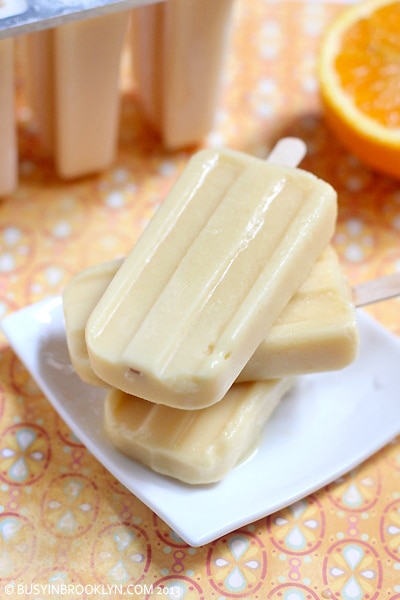
Some of the favorite memories of my youth involve the summers spent in Himmel’s bungalow colony in upstate New York. The caretakers lived directly across the road, in what I remember to be a shack equally as dilapidated as our bungalow. Not that I cared much. When I happened upon their space, I was there for only one thing – the small ice cream freezer in the corner. I had my eye on a particular prize – the orange creamsicles. The creamy ice pops were a summer treat, fresh with the taste of orange and sweet with milky goodness.

I have wanted to replicate those pops in forever, and with my new-found obsession with creamy coconut milk, I was pretty sure I could make a decent nondairy version. Considering how my daughter devoured them, I think I did a good job. They’re a bit icier than the original, but the taste brings back such great memories!

What are some of your favorite summer food memories? Share them with me in the comments below!

1 year ago: strawberry limonana
2 years ago: quick & easy fish

Post a Comment

Summer Rolls with Spicy Dipping Sauce

I couldn’t imagine  going through summer without posting the ultimate light and healthy dish – summer rolls. To be honest, I have no idea why they are called “summer” rolls. I think it’s because they are lighter than their wonton cousins, but I could be wrong.

Unlike classic eggrolls, which are usually fried and heavy, summer rolls are made with rice paper rounds and don’t require any cooking. If you’ve never worked with rice paper before. don’t be intimidated, it’s really super easy.

The great thing about summer rolls is that they can be filled with anything – fruit, veggies, or your protein of choice. Fish and tofu work wonderfully in these rice paper roll-ups, but grilled chicken and veggies are my faves. I once watched Giada de Laurentiis make a fruity version on the Food Network. She filled the rounds with pad Thai noodles, strawberries, mango and almonds and prepared a honey-mint dipping sauce to go on the side. She served them after a yoga lesson as the perfect post-workout treat.

For me, making a dish like this doesn’t really require a recipe. I look into my fridge and put together whatever scraps I can find. In this case, I had leftover marinated chicken breasts, so I threw them on my grill pan for a quick sear. I found some nappa cabbage, shredded carrots, scallions and edamame, and put them all together for a fabulous combo. Feel free to do the same (grab whatever you can find in your fridge) or follow my recipe below.

Oh, and the dipping sauce? Let me just say this — it’s awesome.

1 year ago: roasted beet salsa
2 years ago: gefilte fish patties in tomato sauce

Post a Comment

Butterfly Candy Craft

It’s funny how parents have to go from simple pink party bags to more elaborate birthday themes as their kids grow. I, for one, have a little pre-tween approaching a 2-digit birthday in just a couple of years, and the easy cupcake and party bag birthday just doesn’t cut it anymore. This year, I managed to convince her to turn her party bag into a fun craft, and when she saw the adorable outcome, I didn’t have to say it twice. We used two types of candy (candy corn & individually-wrapped chews), which I actually weighed for 24 of her classmates. I prepared the supplies in little DIY baggies, and did a quick demonstration for the big-eyed 7 year olds. Paired with some ices, it was the perfect goodie bag that doubled as a fun craft. I’m sure your kids will enjoy it too!

The best part about this adorable butterfly craft is that it’s easily customizable. If you’re not a fan of cavity-laden candies, feel free to fill them with fresh fruit, crackers, cereal, or nuts. You can also decorate the butterflies to your liking, choosing from different types of card stock and decorations. Whatever you decide, your students, campers, or kids will be thrilled to create this fun and creative edible craft.

What you’ll need:

snack size Ziploc bags (6 1/2″ x 3 1/4″)
candy, cereal, crackers, fruit or nuts
pipe cleaners
clothes pins
card stock
sequins, gems or other decorative accents
glue

How to:

1. Fill the Ziploc bag halfway with candy.
2. Seal the bag, pressing out all the extra air as you go.
3. Push the candy to one side of the bag, and place a pipe cleaner in the center.
4. Loop the pipe cleaner around the bag and twist tightly to secure.
5. Open the empty side of the bag and fill with a second type of candy. Close securely.
6. Twist ends of the pipe cleaner around your finger to create swirls.
7. Place a clothes pin over the center of the bag, covering the twisted pipe cleaner.
8. Place glue along the length of the clothes pin and cover with card stock.
9. Decorate the card stock as desired.

NOTE: If you are only using one type of candy, you can fill the bag up all the way and just twist the pipe cleaner around the middle.

Related Posts:
rainbow cupcakes
candy sushi
ice cream clowns

Post a Comment

S’mores Cookies

It’s funny to see just how crazy people are about cookies. Me included. Recently, I posted a review of my day at Governor’s Island. I mentioned, in passing, what we brought along for our picnic, s’mores cookies included. I was so excited to receive lots of feedback on my post – but it was all in the form of a recipe request. “Did you say s’mores cookies?” Why, yes I did. “Can I have the recipe?” Well, of course.

So, here I am sharing my accidental recipe for s’mores cookies.

When it comes to cookie making, I’m always in sort of a dilemma. And I’m going to be frank here. So please don’t run away after you read my serious foodie confession, ok?

I don’t like butter.

There, I said it.

I don’t like butter.

Now before you close the screen and punish me for my culinary blasphemy, let me explain. It’s not so much that I don’t like it. It’s just that it doesn’t sit well with me. Anything too creamy or buttery just makes me feel sick.

And there’s something else too, which makes baking entirely difficult.

I HATE margarine.

If you’ve read up on it, you probably know just how bad margarine is for you. In fact, it’s just ONE molecule away from plastic! When I was in culinary school recently, we only had a meat kitchen (it’s a kosher school and under kosher dietary guidelines, milk and meat are not eaten or prepared together), so whenever a recipe called for butter, we used margarine instead. I had a habit of teasing my instructor about all the “plastic sauces” we were preparing.

So, back to cookies. When you can’t use butter or margarine, cookie-making becomes quite a difficult task. It’s hard to get that perfect crumb when using oil, but I try anyway. In this case, I succeeded. Filled with chocolate chunks, marshmallows and graham cracker pieces in every bite, these smores cookies have become a family favorite. And you know what the best part is? They’re not made of plastic.

Related recipes:

Chocolate & olive oil Chanukah crinkle cookies
S’mores chocolate toffee bark
Cowboy cookies

Post a Comment