
I don’t know about you, but chocolate is about the only way I make it through this holiday. Growing up, my family was pretty strict with our Passover customs so we didn’t eat many processed foods. There was some dairy and OJ for the kids, a stash of lady fingers, and chocolate. Lots and lots of Shmerling chocolate.
We didn’t have it that bad. I had friends who couldn’t use oil, just shmaltz (yes, I know it’s delicious, but not when you’re trying to dress a salad!), who swore off dairy and processed food, and who couldn’t eat chocolate. Even Paleo people (who swear off dairy and processed foods, and who load up on shmaltz) eat chocolate. Me? We ate lots of eggs, chicken and potatoes, and any veggies that could be peeled, like eggplants, cucumbers and beets. We used only kosher salt for seasoning (no spices!) and liquid sugar for sweetening (no homemade Pesach cookies!). Still, my mom made the most delicious Pesach food, and we survived 8-days of gluten free eating. Largely in part due to chocolate.
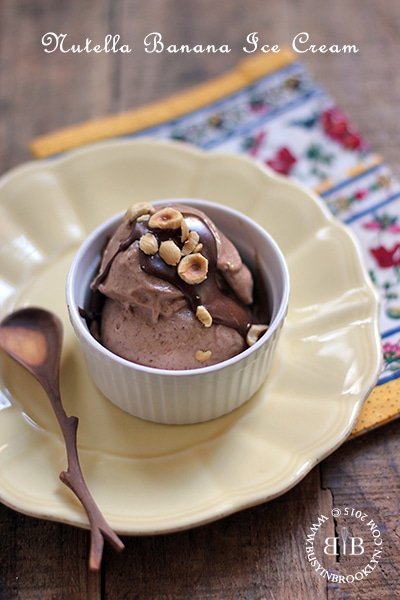
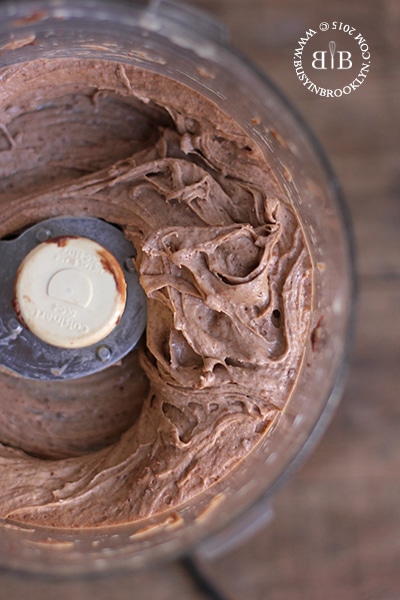
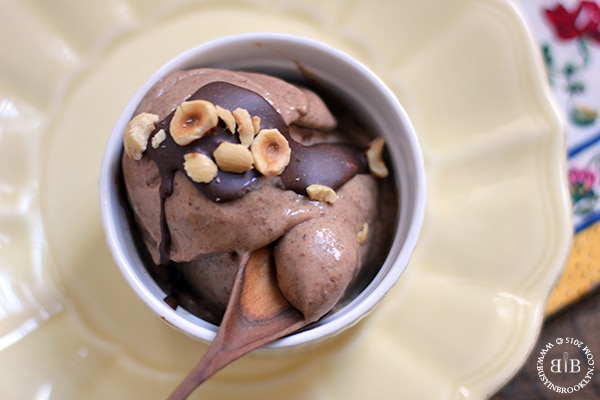
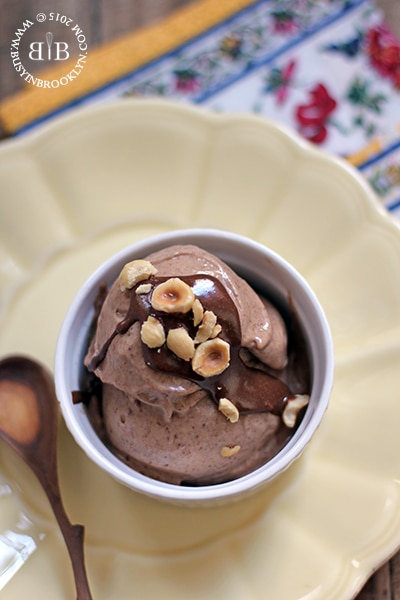
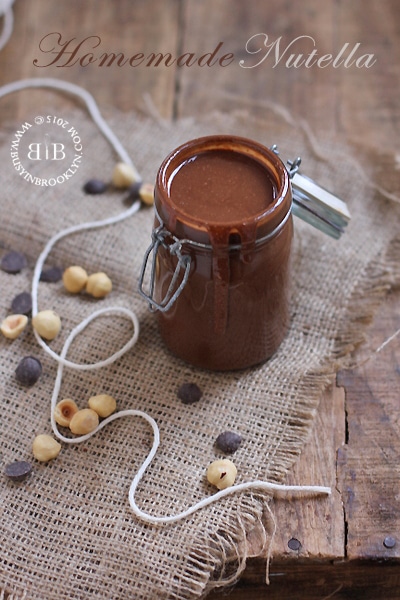
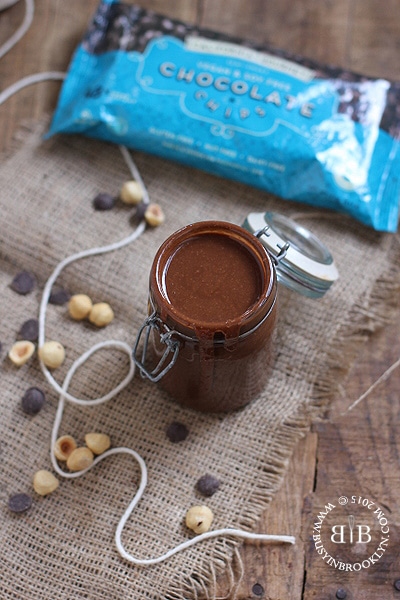
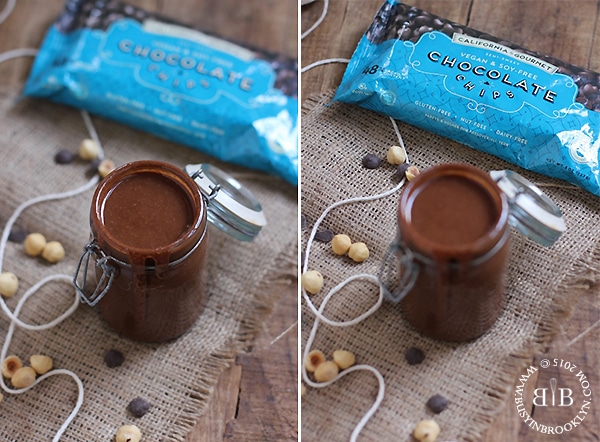
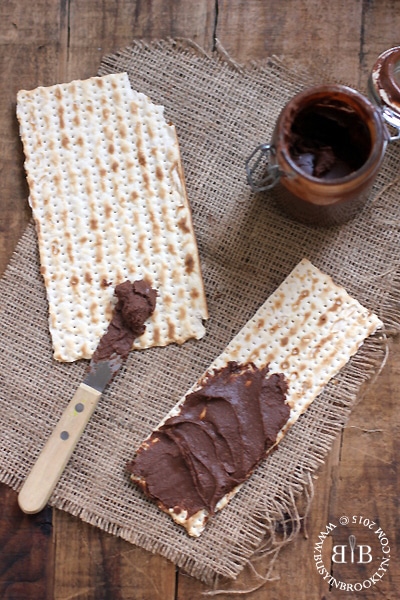
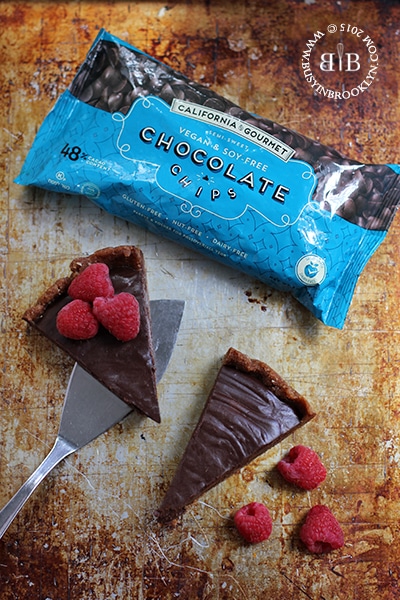
Nowadays, I don’t think 8 days of gluten free eating is that difficult. Maybe it’s because I’m used to eating Paleo and zoodles are one of my favorite foods. I definitely miss the spices though, and the natural sweeteners like maple syrup. But back to the chocolate. It’s what got me through Passover when I was a kid, and it’s what gets me through it now. And now that California Gourmet has come out with kosher for Passover chocolate chips, my Passover’s are complete. I’ve got homemade nutella, nutella banana ice cream, and now THIS.
 ‘
‘
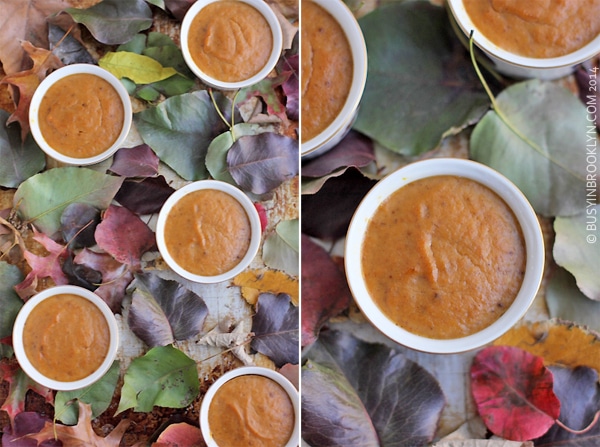
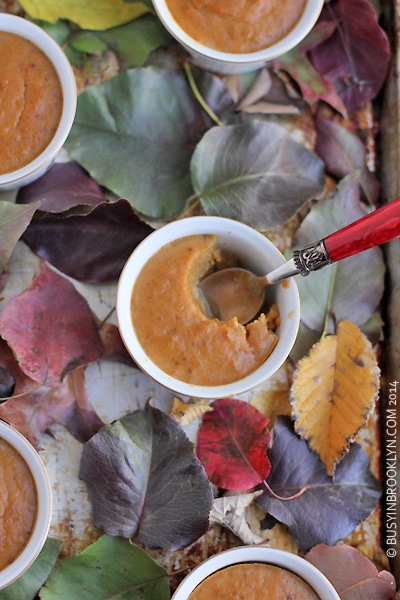
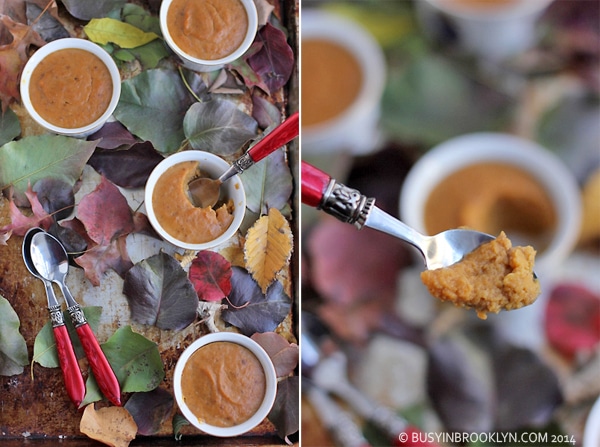
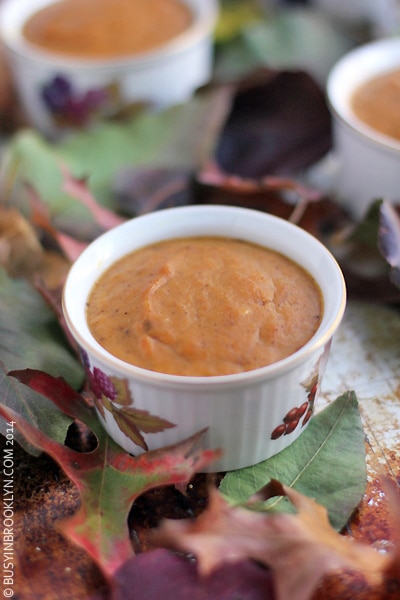
And by this I mean the most decadent, indulgent, GUILT-FREE chocolate ganache tart with a macaroon crust. The recipe is so good that it’s actually PRINTED ON THE BACK OF THE BAG. That’s right, my first back of the bag recipe!! It’s hard to believe that such few ingredients could turn out such a delicious treat, but I tested this recipe on a few people who swear off coconut and they were licking. their. fingers. If there was ever a vegan, gluten free, nut free, raw, Paleo recipe that you should try – it’s this. Trust me. Your Passover’s will never be the same again.
Thanks to California Gourmet for allowing me to share this back-of-the-bag recipe!
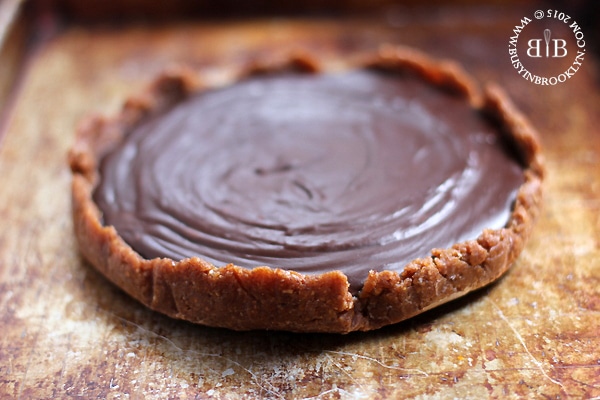
Chocolate Ganache Tart with Macaroon Crust
raw, vegan, nut-free, gluten-free
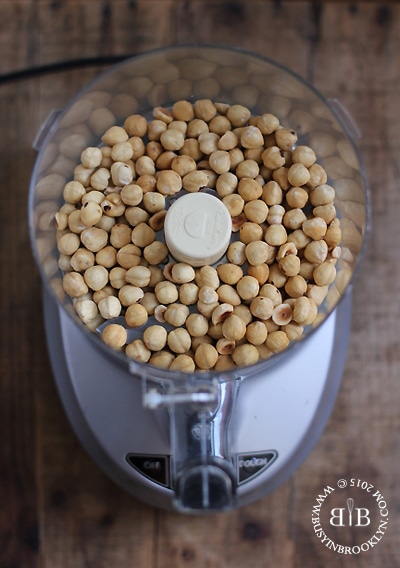
7 oz. sweetened coconut flakes or shredded coconut
9 oz. medjool dates, pitted (about 11 dates)
1 cup canned coconut milk (full fat)
8 oz. bag California Gourmet KFP chocolate chips
1 teaspoon vanilla
pinch of sea salt
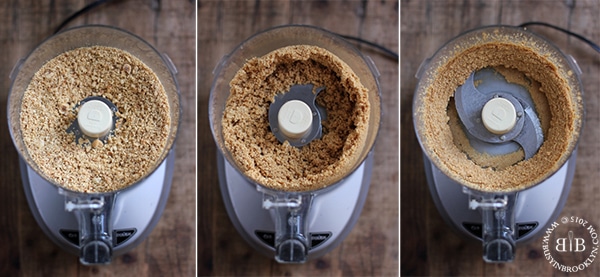
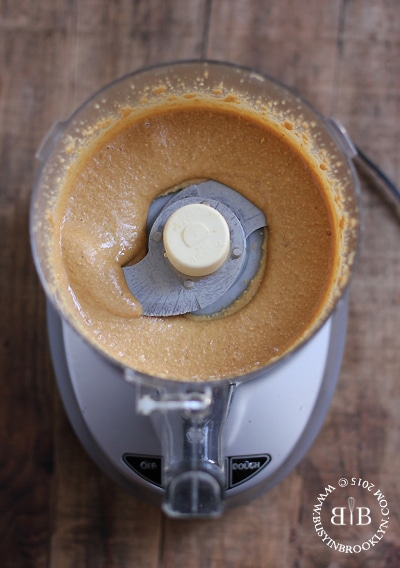
For the crust, spread out the coconut flakes on a baking sheet and bake at 350 degrees for 10-12 minutes, stirring every few minutes, until lightly golden. Set aside to cool. Add the dates and toasted coconut to a food processor and blend until a ball of dough forms and pulls away from the sides of the bowl, or is well blended.
Line a tart pan (see note) with parchment paper, so that it hangs over the sides of the dish. Press the dough out onto the pie dish, spreading it out and up the sides like a pie crust.
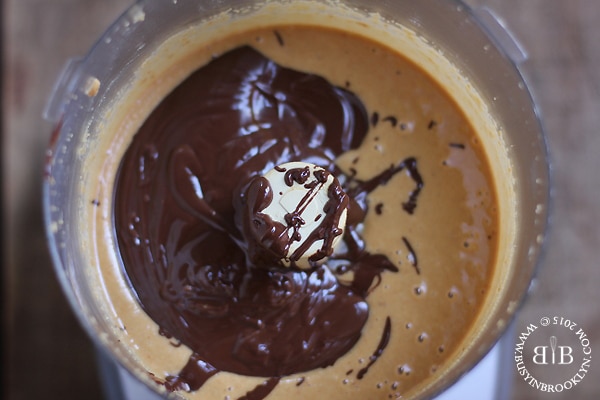
For the ganache, pour the chocolate chips into a medium heatproof bowl and set aside. Place the coconut milk in a small saucepan and bring to a simmer over medium heat. Pour the hot milk over the chocolate and let stand for a few minutes, until chocolate softens. Stir the mixture until smooth and add in the vanilla and salt. Pour the ganache into the pie crust and freeze for 2-3 hours, or until firm.
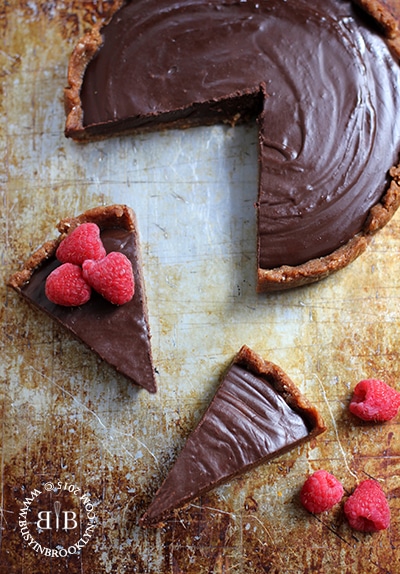
Lift the tart out of the pie dish using the parchment paper. Slice and serve.
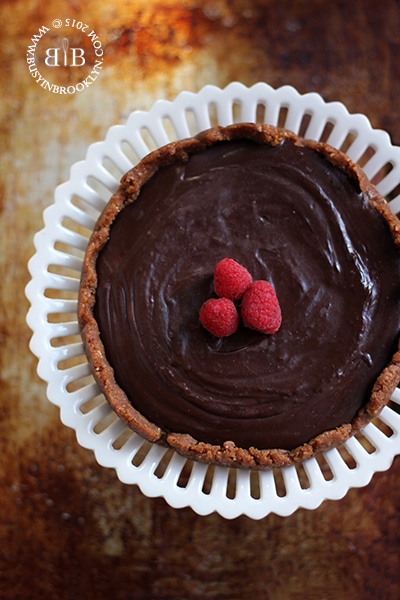
OPTIONAL TOPPINGS: coconut whipped cream, shredded coconut, fresh raspberries.
NOTE: You may use a smaller or larger tart pan (7″-9″). The smaller pan will have more ganache, and the larger one will have it more spread out (in which case you might want to consider making more).
STORAGE: This tart freezes beautifully. Thaw at room temperature for 1-2 hours before serving. Refrigerate until ready to serve.
SUBSTITUTIONS: If you cannot find kosher for Passover canned coconut milk, you may use heavy cream (dairy), pareve kosher for Passover whipping cream, or, you can make your own coconut milk.
To make your own coconut milk, place 4 oz. unsweetened shredded coconut in a blender and pour 2 cups of hot water over it. Blend on high for a few minutes until thick and creamy. Pour the mixture through a colander lined with several layers of cheesecloth (or a kitchen towel). Squeeze to extract as much of the milk as possible. Refrigerate in an airtight container for 3-4 days. The milk will separate so just shake before using. Continue as per the recipe using your homemade coconut milk.

This post is sponsored by California Gourmet Chocolate Chips. Follow on Facebook, Twitter, and Instagram. View the list of stores that carry the brand here).
Related KFP Recipes: