Category: Paleo

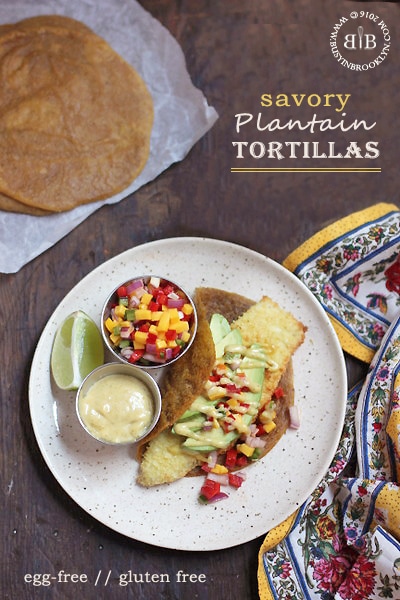
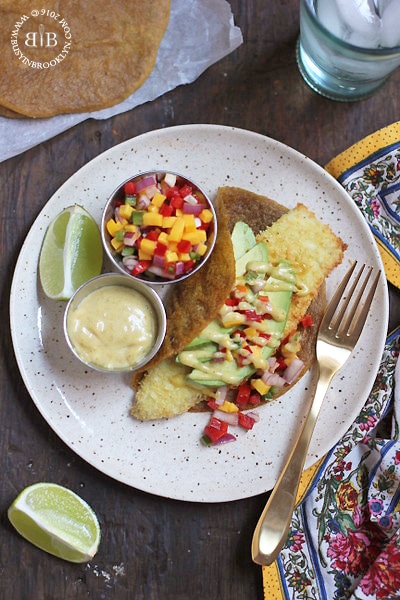
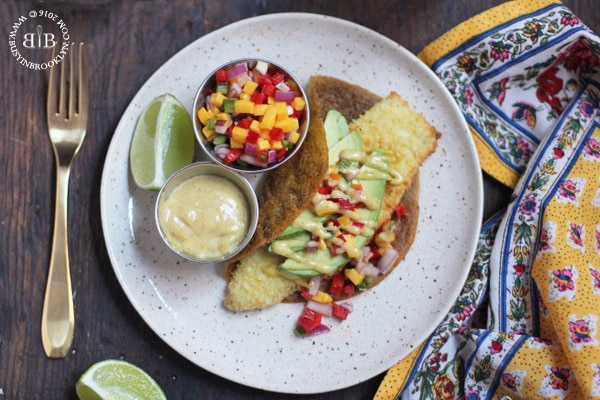
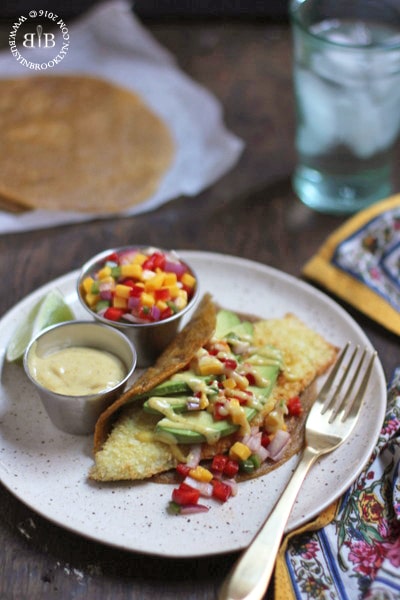
Fish Tacos with Savory Plantain Tortillas

Last year was my first time venturing into the world of plantains. It’s definitely a lesser known fruit, so I’m here to tell you more about it!

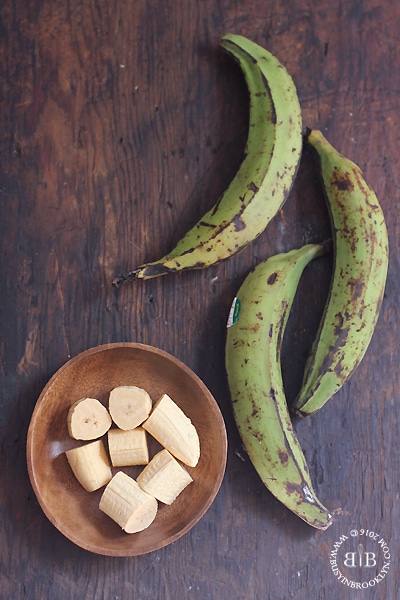
Plantains are a tropical fruit, and are best known for their use in tostones – a twice fried chip. You’ll find them on the menu in many Latin restaurants, like 26 Sushi & Tapas, in Miami, Florida. I love them topped with ceviche and avocado!

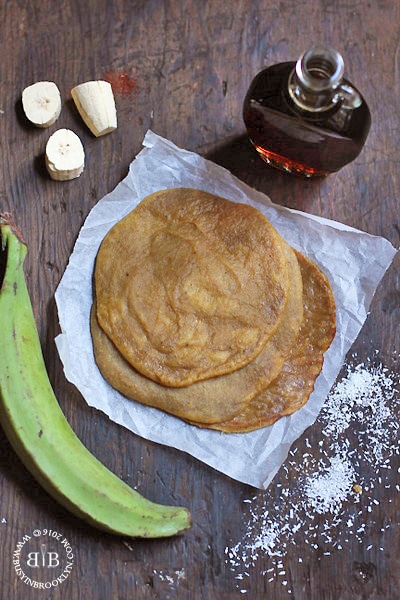
A plantain looks like a banana, but it’s slightly larger with angular sides. It’s taste and texture are determined by it’s stage of ripeness – firm and starchy when it’s green, and softer and sweeter when it’s yellow to black. Plantains cannot be eaten raw, but they make great (baked or fried!) chips when firm, delicious mash when ripe and great egg-free tortillas at any stage. Plantains are a resistant starch, which means that they pass through the digestive system sort of like soluble fiber and don’t spike blood sugar, making them popular among Paleo enthusiasts.

My interest in plantain tortillas was purely a Passover thing, since most kosher for Passover crepes are made using potato starch and eggs. I’m not a big fan of potato starch, and since my son is allergic to eggs, I was looking for an egg-free alternative.
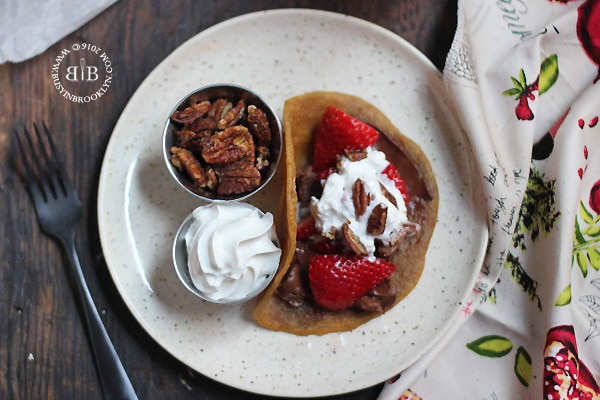
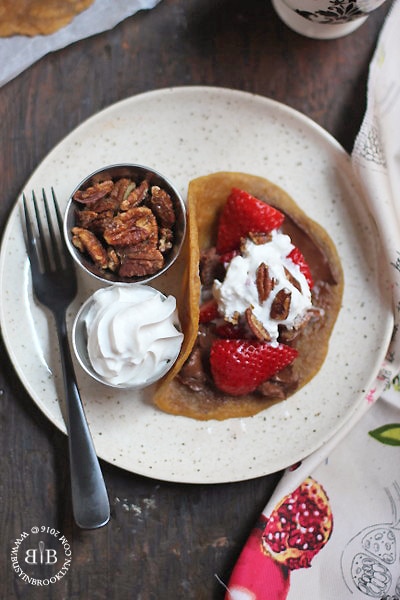
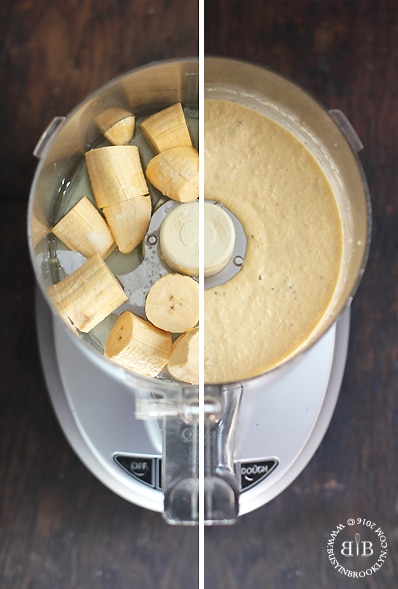
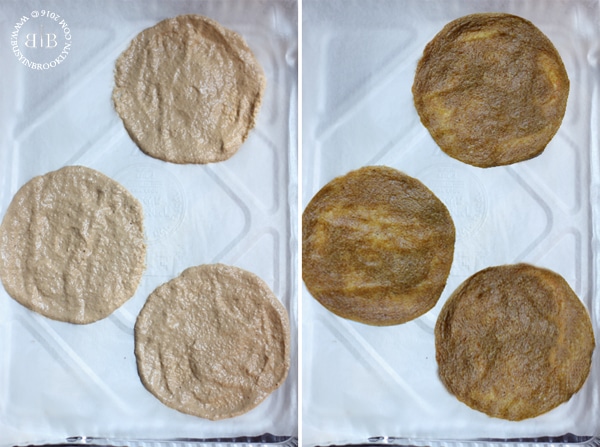
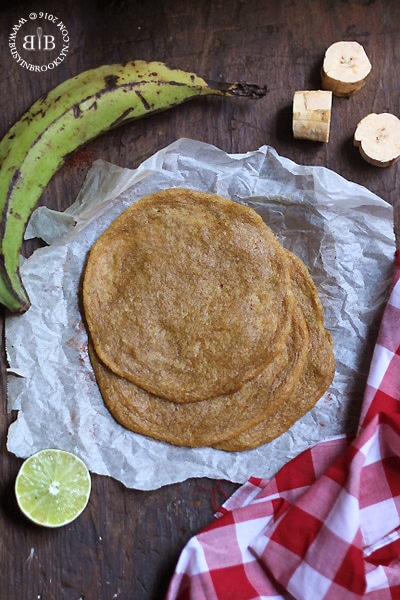
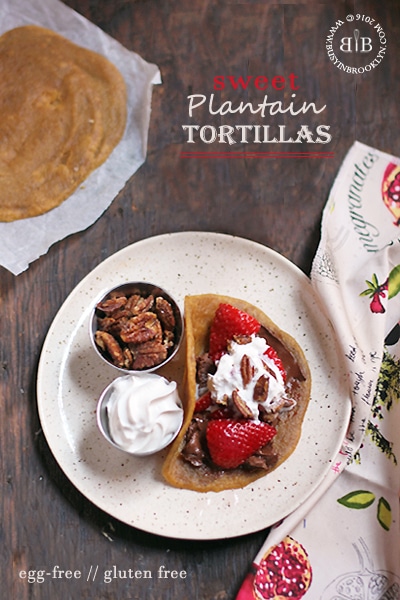
I created two versions of the tortilla – a savory one, made with avocado oil, lime juice and a bit of chili powder, and a sweet one, made with coconut oil, maple syrup and vanilla (recipe coming tomorrow!). Plantains don’t have much flavor on their own, so adding these ingredients was essential. I was pleasantly surprised that the tortillas were soft and pliable and really make a great substitute for Passover crepes and wraps. It’s great to have a recipe that doesn’t call for potato starch and eggs for a change, am I right?!

Now for the fillings! I’m a big fan of fish tacos so I definitely went that route with coconut crusted fish fillets which you can bake or fry (if you’re not a fan of coconut, I would recommend frying). Mango salsa is the perfect accompaniment to this tropical dish and curried mayo, one of my favorite condiments, rounds it out. This makes a great lunch or light dinner after all the heavy meat and potato dishes that we’re used to!

Looking for other potato alternatives for Pesach? Check out this article that I put together for OU kosher. It’s got lots of amazing recipes, suggestions and ideas for replacing the spud. You can thank me later!


Related Recipes:

plantain nachos
fish tacos with broccoli slaw
tropical guacamole
nutella crepes with sweet plantain tortillas
Post a Comment

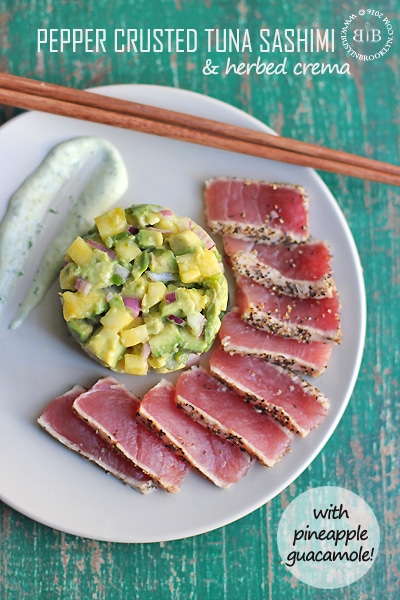
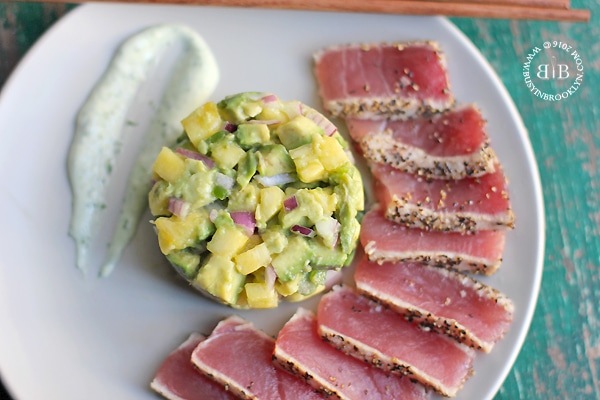
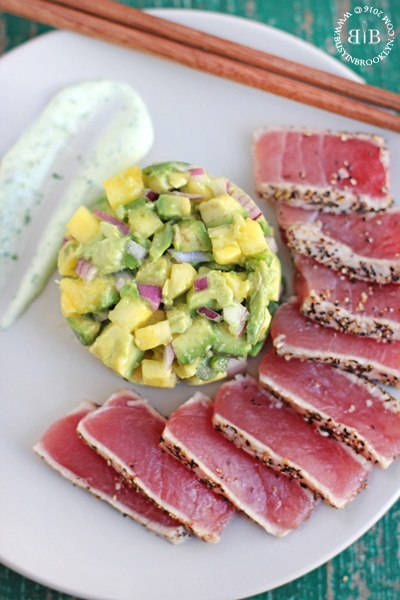
Pepper Crusted Tuna with Pineapple Guacamole & Herbed Crema

I used to hate raw fish. It make me all squeamish. Raw meat too. I mean why would you want to eat raw food, possibly swimming with parasites, if you could eat it cooked, am I right? I was fine with a runny egg or two. Or three. But not the real proteins. Put a fancy plate of beef tartare with a raw egg in the center in front of me and I was out the door.

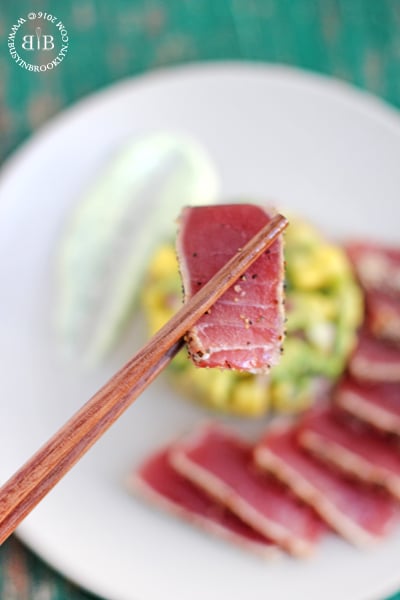
But then sometime about a year or two ago, I decided I was done being afraid of food and I wanted to try everything. I’m still not a fan of beef tartare but I’ve come to love raw sushi. It’s so much fun to be able to order off the entire sushi menu now, and not just the cooked rolls! You’ll be surprised just how easy it is to prepare pepper-crusted tuna sashimi at home. Just make sure you get the freshest, best quality tuna out there for this dish.

Related Recipes:

pan seared tuna steak
persimmon guacamole
jalapeno crema

Post a Comment

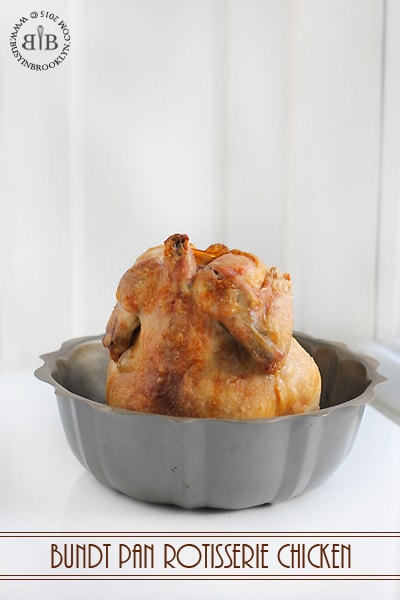
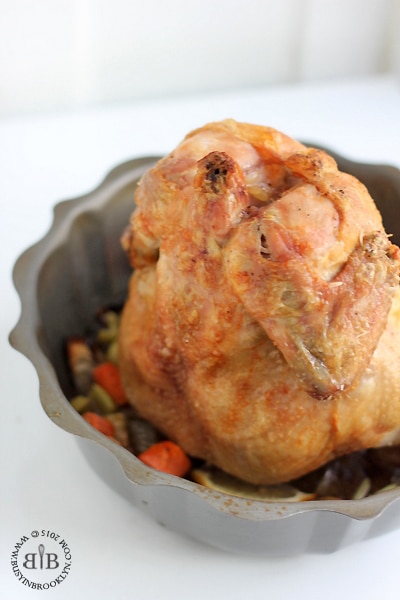
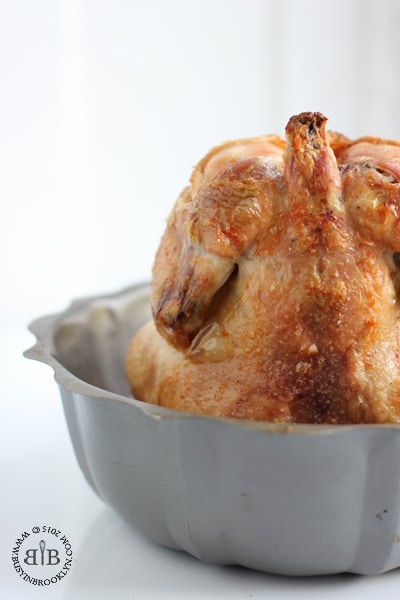
Bundt Pan Rotisserie Chicken

I have a confession to make. I used to be afraid of chicken. And I don’t mean of eating it.

Yes, you read that right. When I was a teenager, I wasn’t too fond of helping in the kitchen, and when I had to make chicken, lets just say it was an ordeal. I always wore gloves, but sometimes the chicken got the better of me and I would throw it into the sink, terrified that it would come to life and leap at me.

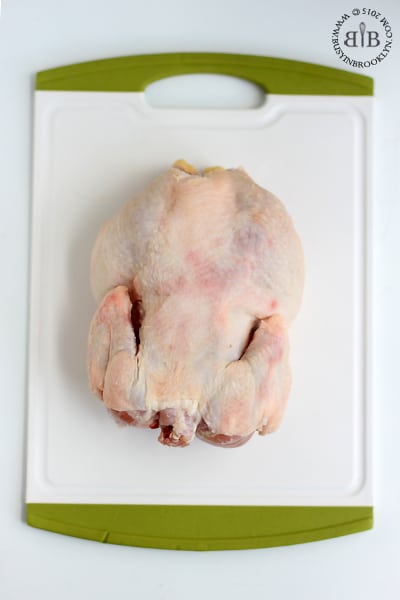
I mean, do you blame me? Look at that chicken sitting there all pretty. It looks so…well…human.

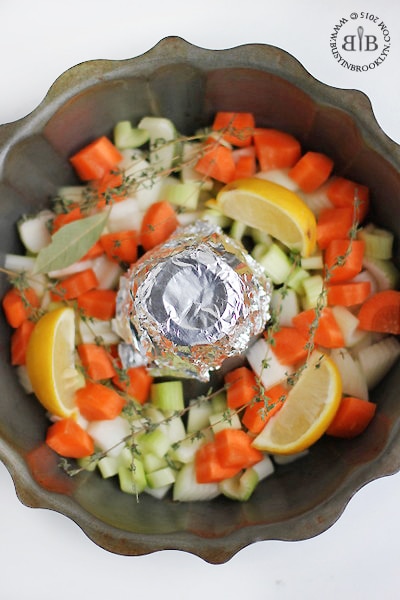
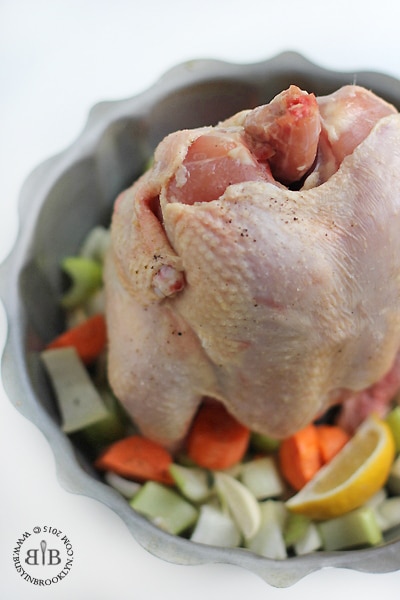
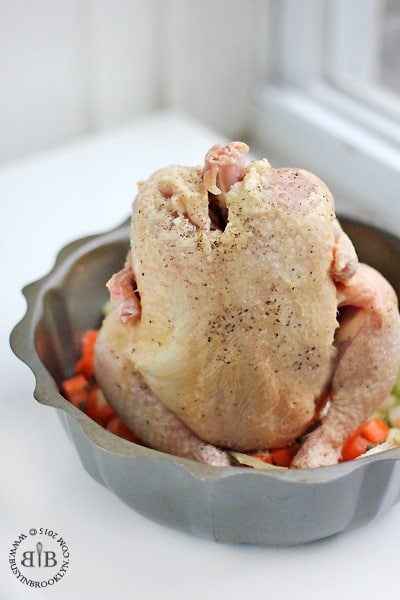
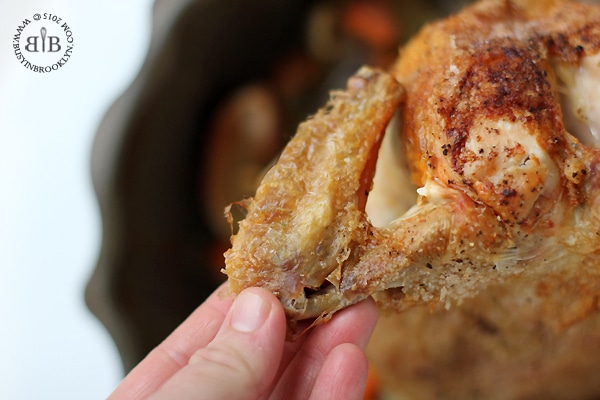
It took a few years, but I got over my fear. And just time in time for this GENIUS homemade crispy rotisserie chicken hack.

I can’t take credit for this stroke of brilliance. All credit goes to Justin Chapple, the senior editor of Food & Wine Magazine, who’s Mad Genius Tips constantly blow me away!

When I saw a short clip of this easy bunt pan rotisserie chicken on Instagram, I was all over it. I made it for Shabbat that week, and I’ve been making it ever since. It’s my husband’s favorite way to eat chicken, and we always fight over the crispier-than-ever chicken wings!

My favorite thing about this recipe is that it’s super healthy and indulgent nonetheless. You feel like you’re eating fried chicken (it’s that crispy!), but without those extra calories. It also makes a great one-dish meal when you add potatoes or other veggies.

Related Recipes:

lemon & garlic whole roasted chicken

Post a Comment

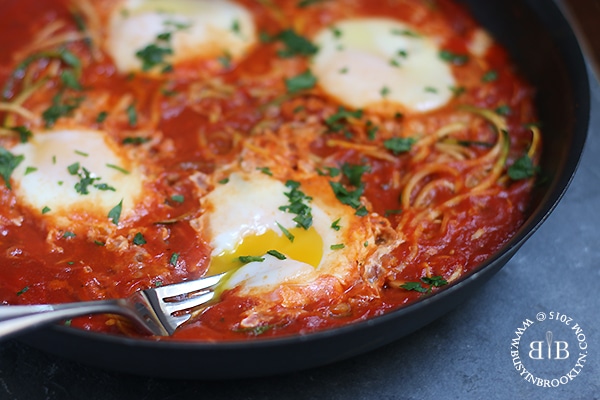
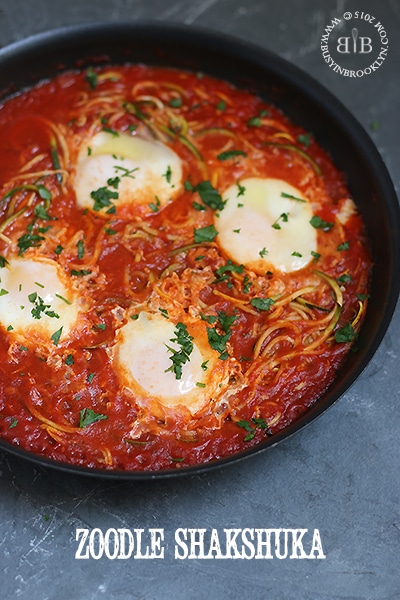
Zoodle Shakshuka

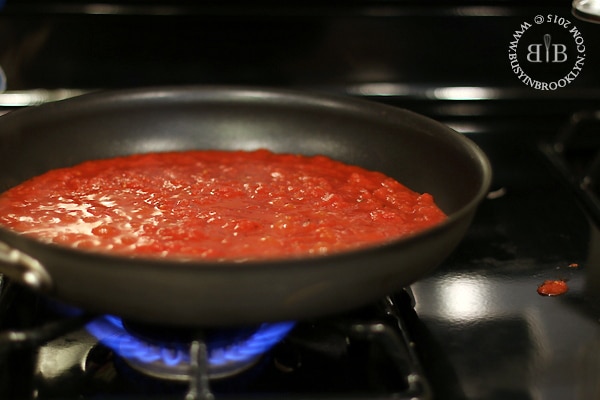
If a food could be my bestie, it would be shakshuka. I can’t get enough of the stuff. Why do I love it so much? Lets count the ways…

    1. it’s sweet.
    2. it’s spicy.
    3. it’s saucy.
    4. it’s got runny eggs.
    5. it’s got runny eggs. (I love runny eggs OKKKK?)
    6. it’s easy to make.
    7. you can dip fresh pita in it.
    8. you can make so many varieties.
    9. you can eat it for breakfast, brunch (my favorite), lunch or dinner.
    10. it’s Israeli and Israel is my <3

Speaking of #10, I’m sharing this recipe with you all in honor of the #LOVEISRAELFOOD which is the brainchild of my fellow Brooklyn foodie and Instagrammer Aliza Salem (follower her @theghettogourmet!). Aliza put together a fun foodie campaign in support of Israel, where we all share our favorite Israeli dishes on Instagram! Go out and buy some Israeli products and post a photo of your dish with some of these hashtags:
#buyisraelicookisraelibakeisraeli, #loveisraelfood, #changeforisrael and #onenationoneheart! I can’t wait to break the internet with all our droolworthy dishes!

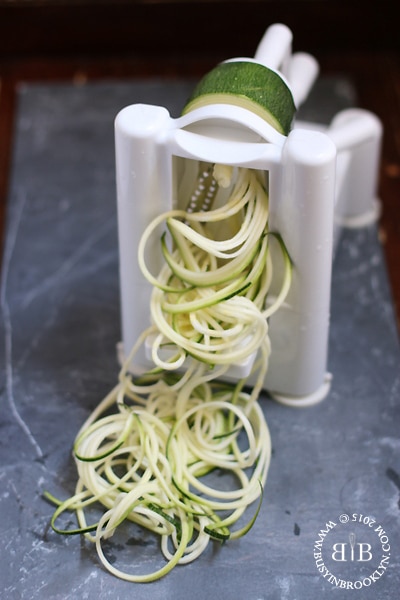
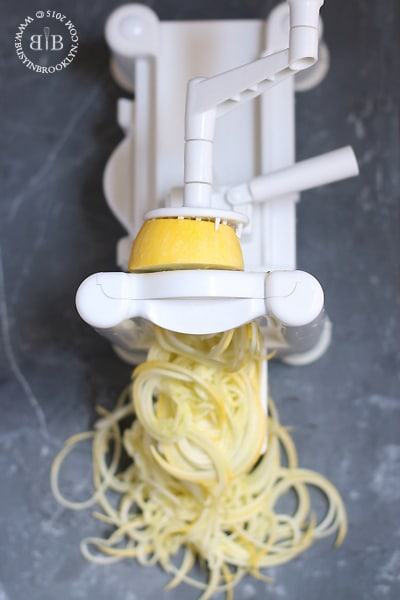
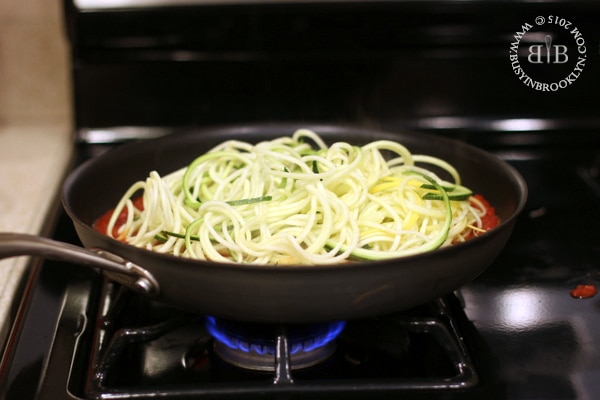
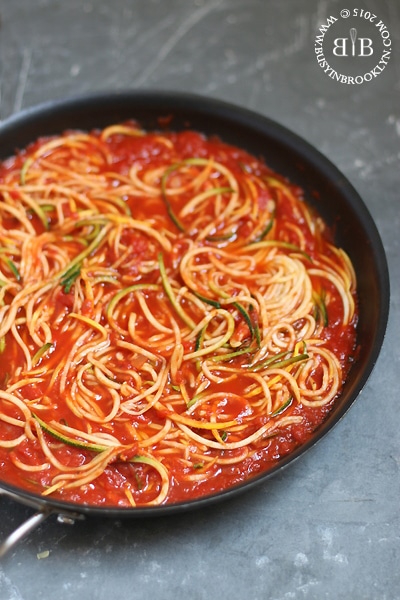
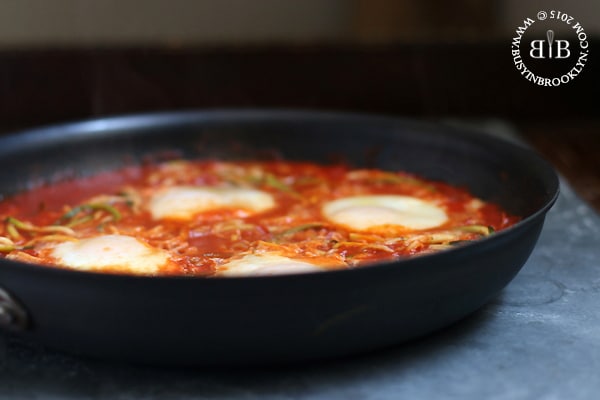
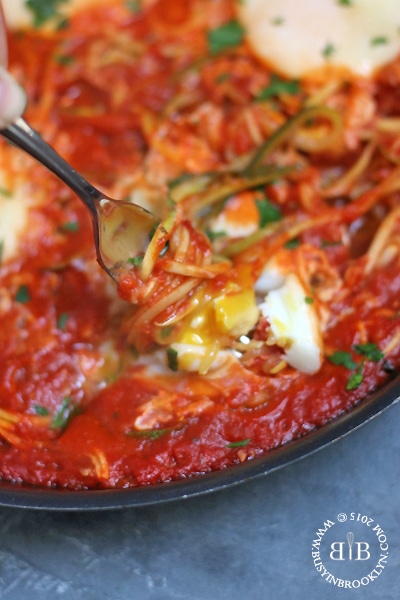
I’m getting in the spirit of things with this zoodle shakshuka, because I had to bring together two of my favorite things: zoodles and shakshuka! I spiralized both zucchini and yellow squash, to give this a 2-tone effect, and it came together in no time. Who doesn’t love that!

Zoodles are all the rage these days, so if you haven’t hopped on the zucchini noodle train, it’s time. I wrote all about the different tools that you can use to prepare zoodles a little while ago, so give it a read!

If you’re not much of a reader, I’ll sum it up for you in one sentence. For quick and easy zoodles, use this and for a fun tool that you can use with lots of different produce, use this. It’s that easy my zoodle novice friends.

And if you’re looking for some inspiration for the #loveisraelfood campaign, you know you’ve come to the right place. You can try stuffing some roasted eggplant like this, or grilling up some halloumi like this. You can go a little crazy with halva flavors like this and this or work in some za’atar like this and this. Of course you can go more classic like falafel and shawarma or go a little crazy with rosewater or harissa. Whatever you do, it’s sure to be delicious. B’taavon!

For the zoodle shakshuka recipe, head on over to the Arutz Sheva blog!

Other Shakshuka Recipes:

baked portobello shakshuka
garbanzo bean shakshuka
spaghetti squash shakshuka 

Post a Comment

Sous-Vide Honey Lavender Chicken
with Apricot Salsa

Ah, sous-vide, the intimidating, yet popular, modernist cooking technique. What is it, and how do you do it? What are the benefits of sous vide cooking and is it safe? Read on.

I’m a strong believer in keeping with the times, especially in your field of work. As a food blogger-turned-chef, I can’t help but notice that SousVide is everywhere. From home cooks to professional chefs, everyone is doing it! I was having some serious sous-vide fomo when the folks over at Sous Vide Supreme sent me their SousVide Supreme Promo Pack to try, complete with a water oven, vacuum sealer, pouches and their easy sous vide cookbook. I was apprehensive, to say the least. In fact, the machine sat unopened for a couple of weeks until I finally mustered up the courage to get started. Why was I so intimidated by a water bath machine? Read on.


Sous vide, which means, “under vacuum” is a method of cooking in which food is vacuum sealed in plastic bags and then cooked in a temperature-controlled water bath. Once your food reaches your desired temperature, it can be held at that temperature for hours, so you can put up a steak in the morning, and come home to a perfectly cooked medium-rare piece of meat (as opposed to a crockpot, which would turn the steak into a pot roast). Being able to cook food to an exact temperature is a chef’s dream, but cooking it at a low temperature where bacteria are prone to breed, is also a nightmare.

One of the most important things you learn in culinary school is food safety. When I attended the Center for Kosher Culinary Arts back in 2013, I opted to take a food safety and sanitation course, where I learned all the guidelines for safe food handling. I am now certified by the National Restaurant Association as well as the NYC Dept. of Health as having trained in food safety. The course, and the following exam, were not easy. I had to memorize all sorts of bacteria, corresponding illnesses, different degrees and temperatures at which bacteria grows, etc. I’m proud to say that I passed with flying colors (having gotten only 1 question wrong), but I also took plenty of neuroses home with me! Having trained in food safety, I have become so careful about the way that I handle food, and also a bit neurotic about the way people around me do too. When you realize that foodborne illness can literally lead to death, it becomes a serious threat!

Why am I sharing all this? Well…one of the key elements of food safety is TCS: temperature control for safety. To keep food safe from bacteria, you need to keep your food at a safe temperature. The danger zone, where food is prone to bacteria growth, is 40-140 degrees Fahrenheit. Often, when cooking sous-vide, food is cooked at these low temperatures for long periods of time. Red flag anyone?! Well, it turns out, that after researching this I learned about the logarithmic decay curve. Food safety is a function of both temperature and time. This means, that pasteurization can happen at a lower temperature, it will just take longer. You probably know that it’s recommended for chicken to be cooked to 165 degrees, and that’s because, at that temperature, chicken is sterilized instantly, but pasteurization actually begins at 126.5 degrees. So you can actually cook chicken safely at 140 degrees, it will just take longer to pasteurize (about 45 minutes or so). This is why it’s important to follow the recommended minimum cooking times for food from the manufacturer of your sous-vide machine.

OK, so now that we can agree that sous-vide food won’t kill you, lets discuss the PROS & CONS!

Some of the benefits of sous-vide cooking include:

You can cook your food to the perfect desired temperature.
Say you want perfectly medium steak, you cook it at 135 for 1-4 hours and you get perfectly. medium. steak.

Your food is cooked evenly.
You know how when you grill or broil a steak, or even a burger, the outside is slightly overdone, while the inside is just how you like it? Well with sous-vide, it’s all exactly how you like it, through and through.

You get a larger yield.
You know how when you braise an expensive roast, you open the pot and wonder where half of the roast has gone? The meat shrinks during cooking and you’re left with half of it’s original size. When cooking sous-vide, shrinkage is greatly reduced, so you get more for your money.

You can set it and forget it. 
Unlike a slowcooker, sous-vide cooking allows you to put up your dinner in the morning without it being reduced to mush by the time you get home. Imagine putting up some eggs, running to the bakery for fresh bread, picking up some coffee and then coming home to perfectly runny eggs an hour later. {Insert egg emoji here}

It enhances flavors.
Vacuum sealing the food seals in flavors, so when you make things like honey lavendar chicken, you can actually taste the honey and the lavender!

It does wonders for veggies.
One of my favorite ways to cook vegetables is via blanching. Blanching locks in the bright color of the veggies and keeps them perfectly tender-crisp. You get the same with sous-vide, minus the ice water bath.

What I didn’t like about the sous vide process:

It takes forever to heat up.
Getting the water bath to reach your desired temperature takes a ridiculously long amount of time. It helps to start with hot water, which greatly reduces the preheating time.

Say goodbye to pan-gravy.
With sous-vide, you get the benefits of poaching (extremely tender proteins), but you lose out on the delicious flavor compounds that develop when searing and roasting. For this reason, some chefs recommend searing your meat or chicken before cooking sous-vide, to enhance the flavor. Alternatively, you may also finish your cooked food with a quick sear (as I did with this recipe) for crispy texture, added color and flavor.

Temperatures can fluctuate.
If sous-vide is about temperature control, I’d imagine that it should be able to do just that – control the temperature. I was surprised to see fluctuations in the temperature, however minor, during cooking. One reader suggested putting a layer of bubble wrap over the water bath to prevent evaporative cooling.

Some foods float in the bath.
Sous-vide machines are often called immersion circulators because it circulates and heats the water bath around the food. They key is that the food is immersed in the water bath, and that is how it cooks. However, certain foods, especially vegetables, float to the top, not allowing them to cook properly. One solution, is to use the rack that’s included in the machine, to hold the food in place under the bath, or, a chef once recommended vacuum sealing some butter knives and using them as a tool to weigh down the food.

Flavors can be too pronounced.
The fact that vacuum sealing enhances flavors is a definite pro, but it can also have less than favorable results. Certain ingredients don’t work well when their flavor is magnified, such as bay leaf, or alcohol, which can give food a drunken flavor. Even the lavender I used in this recipe is pronounced, but at just 1/2 tsp, I found the flavor to be pleasant.

It’s potentially unsafe.
As mentioned above, cooking food in the temperature danger zone (40-140 degrees) provides a environment for pathogens to grow rapidly. If you’re not careful about cooking times (as specified by the product manufacturer), your food can become contaminated. In addition, if your food is not properly vacuum sealed, or your food becomes contaminated during prep, cooking sous-vide poses an additional threat. It’s also important to mention that you must use vacuum bags that have been designed specifically for sous-vide use as some plastics can leach out chemicals into the food.

Want to learn more about how to cook sous vide chicken? I found THIS GUIDE extremely helpful! Their egg and meat guides are a must-read too!

Want to try sous-vide at home and don’t have a sous-vide machine? Learn about the stovetop method using Ziploc bags here!

Do you have any sous vide tips, tricks or recipes to share? Post them in the comments below!


This post was sponsored by Sous Vide Supreme. All opinions are my own. 

Post a Comment